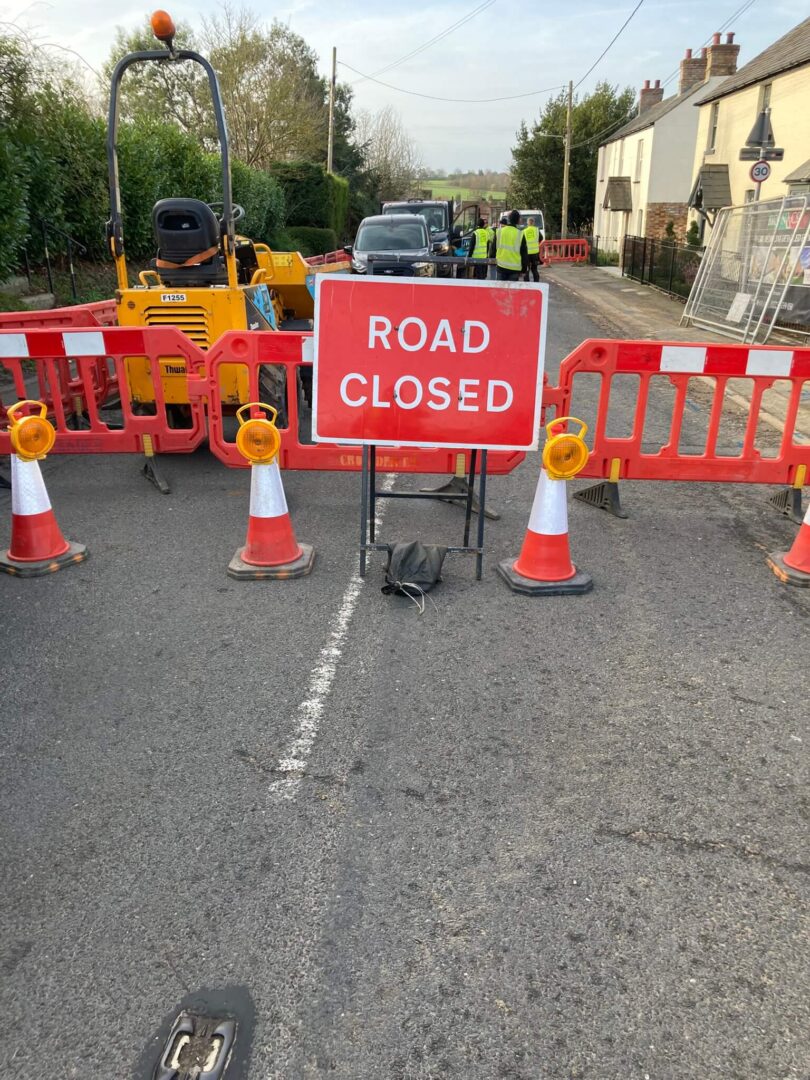
One of the most common questions we are asked when carrying out a new sewer connection is:
“Will the water authority adopt the pipework that is being installed?”
Unfortunately, there is no simple yes-or-no answer.
Many property owners assume that if a new sewer pipe is installed within the public highway, it will automatically become the responsibility of the local water company. In reality, this is often not the case.
Understanding the difference between a Section 106 connection and a Section 104 adoption agreement is essential before starting any new build or sewer connection project, as the route chosen can significantly affect costs, timescales, future maintenance responsibilities and even whether the development can proceed.
What Is A Section 106 Sewer Connection?
A Section 106 Agreement (under the Water Industry Act 1991) is the process used to obtain permission to connect into an existing public sewer.
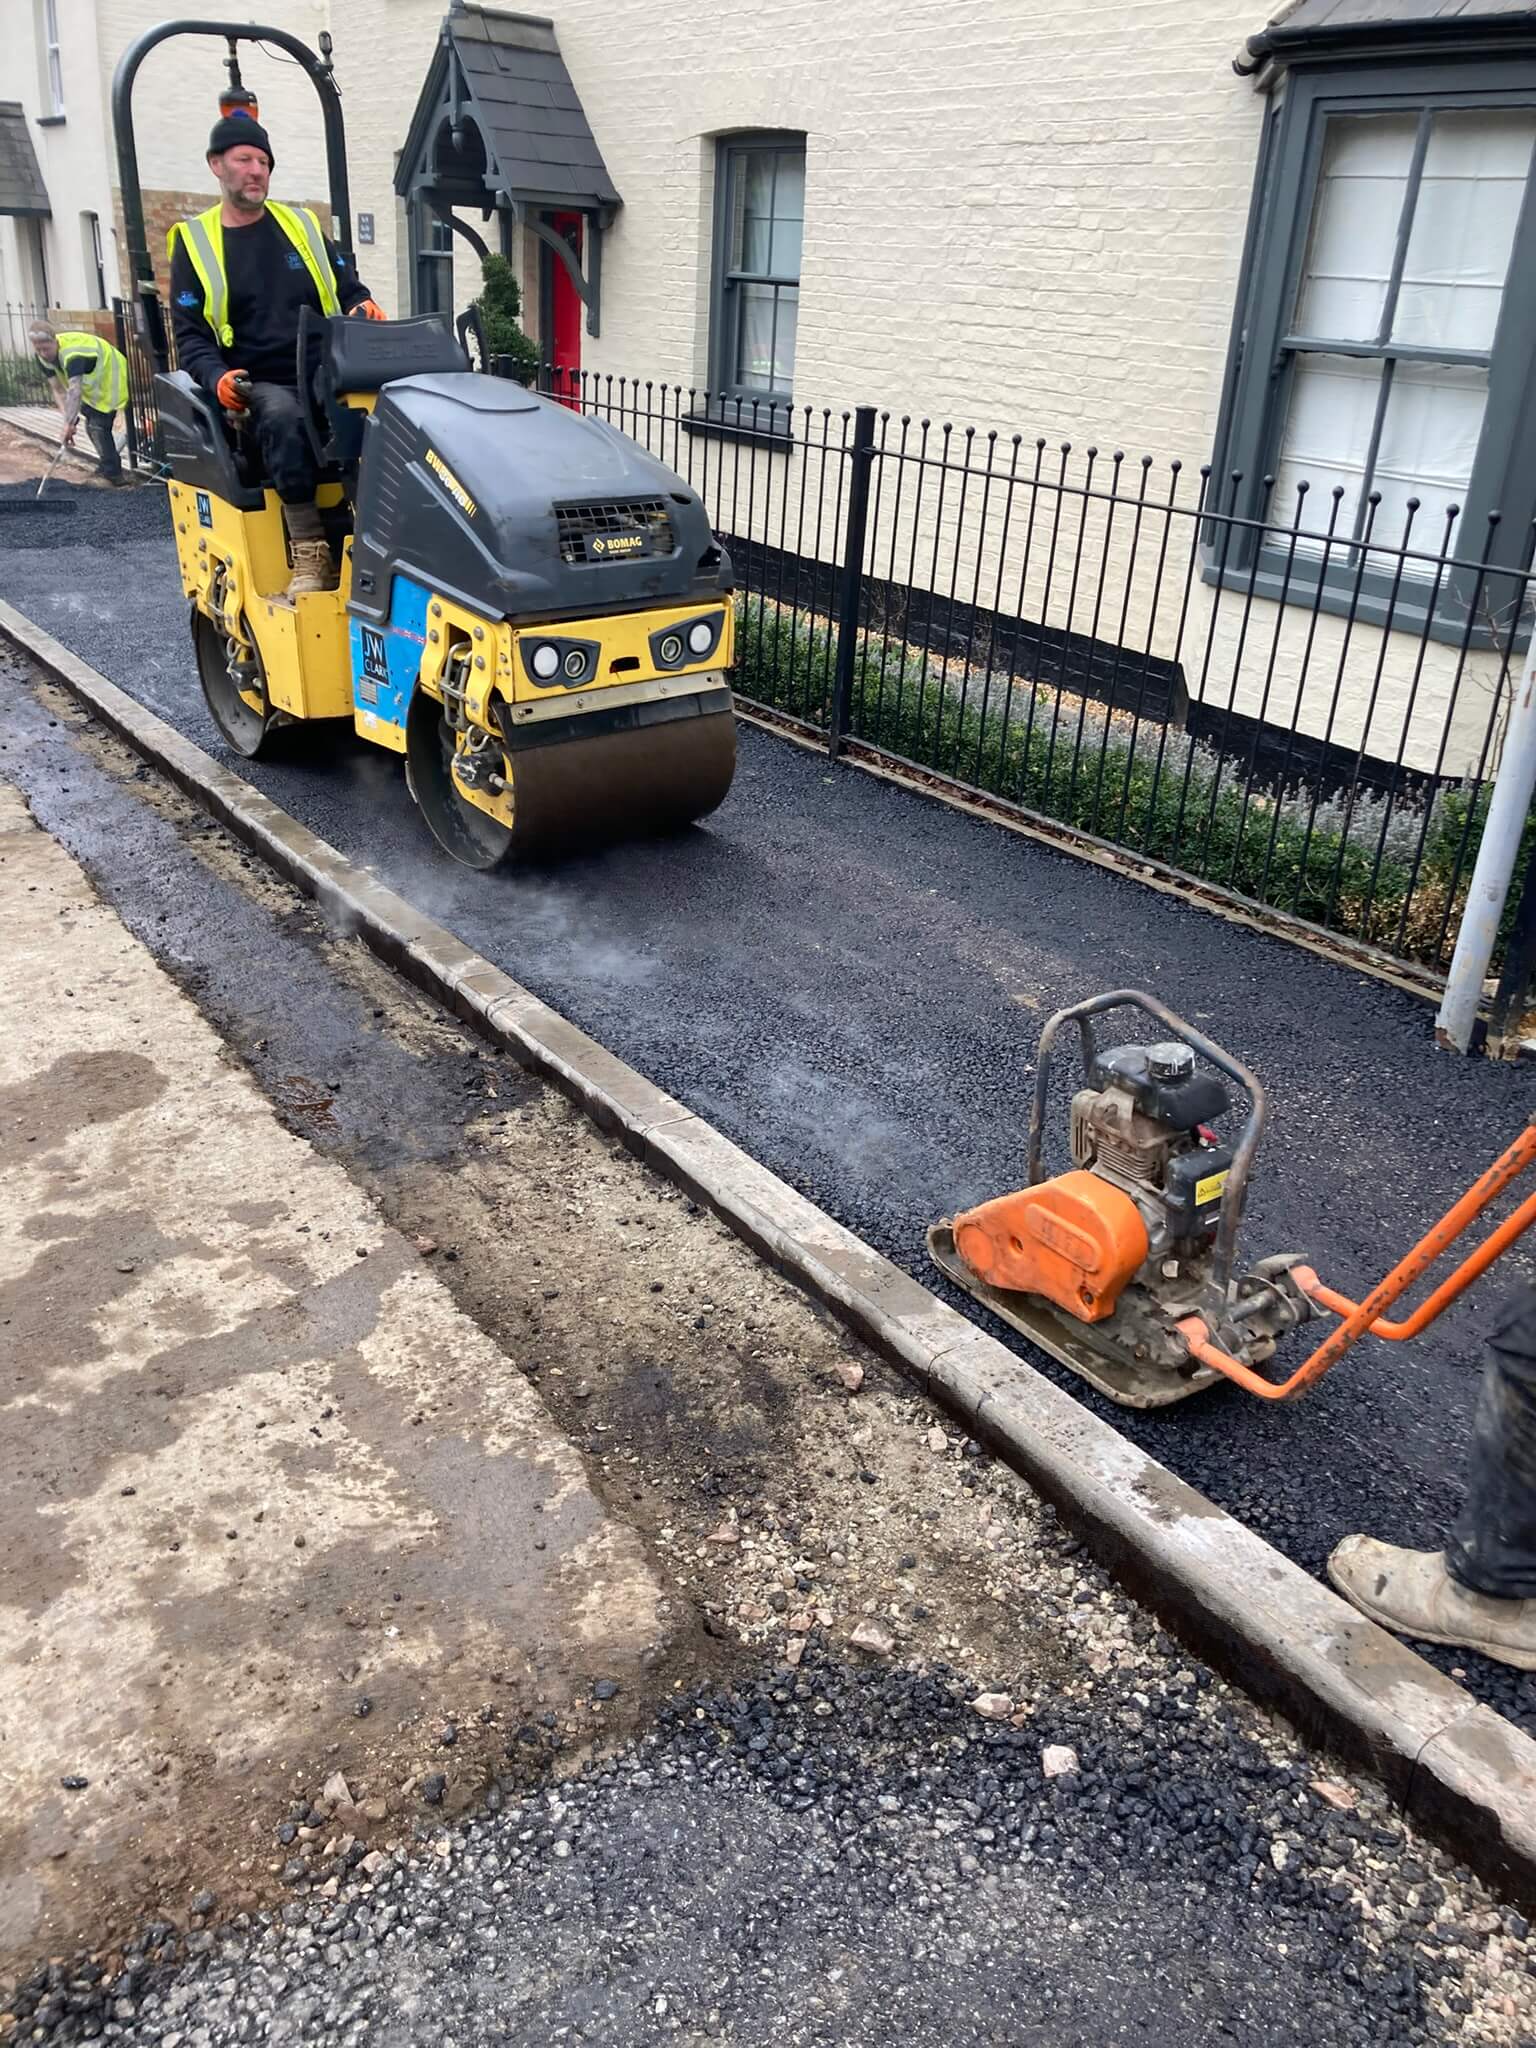
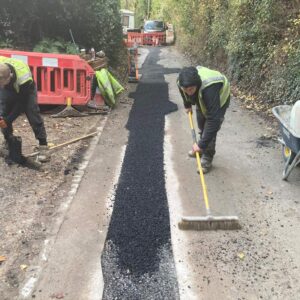
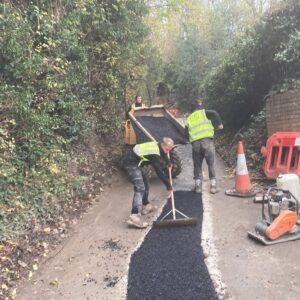
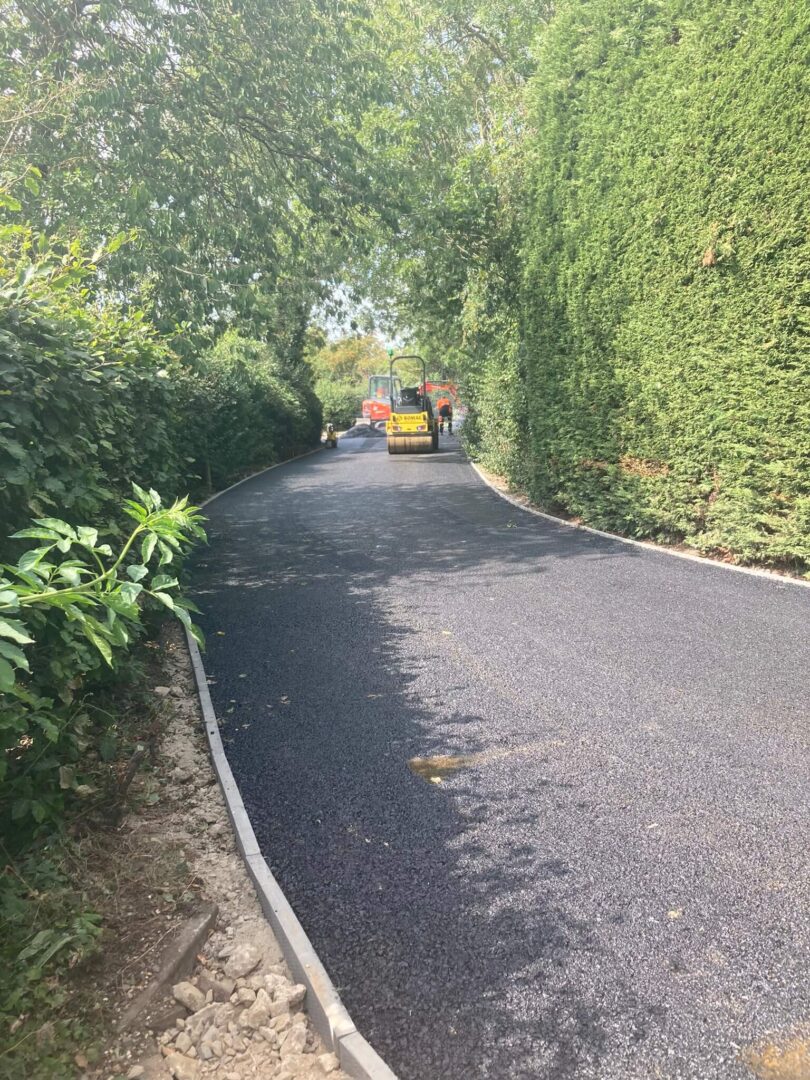
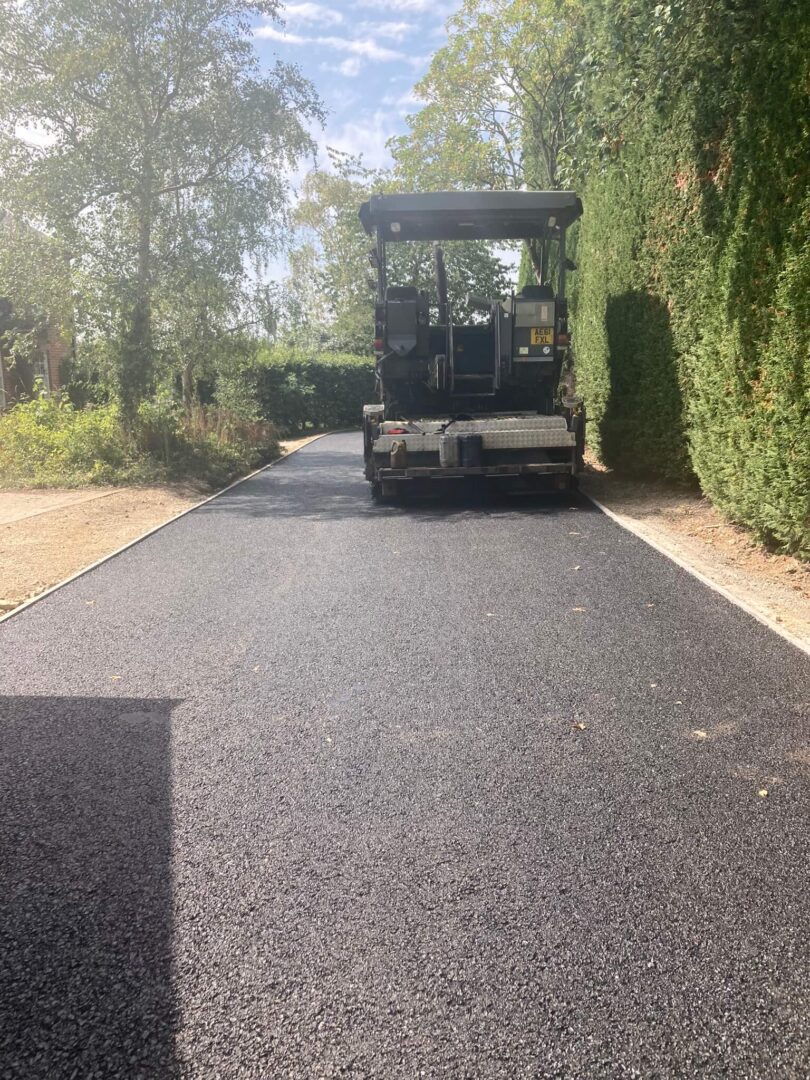
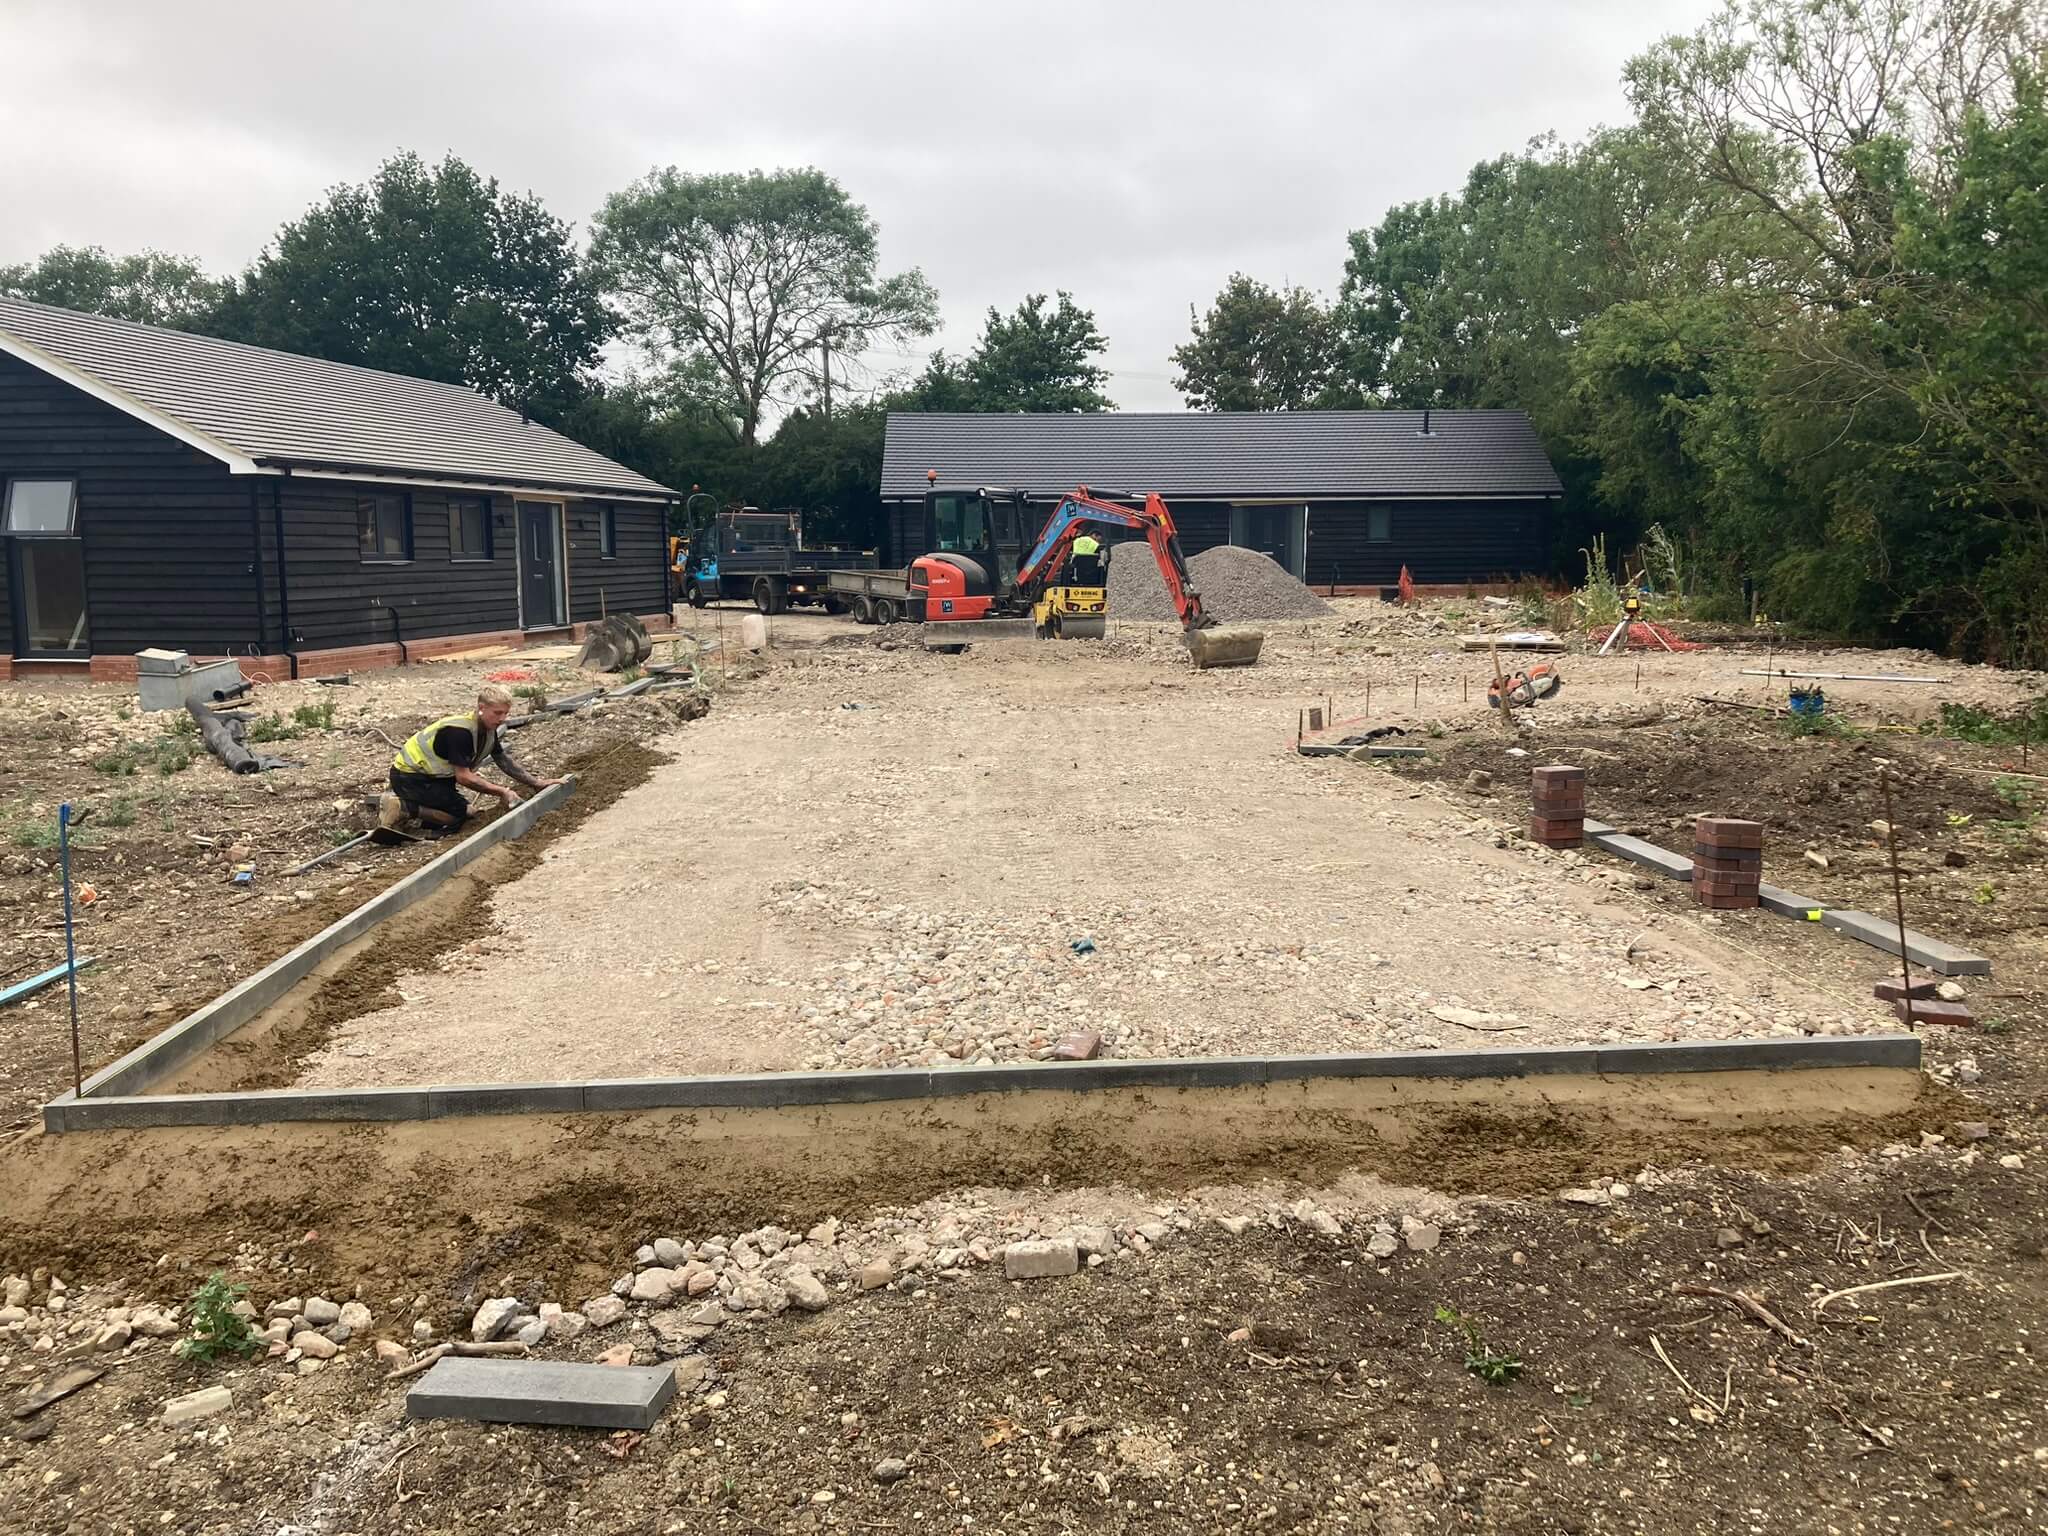
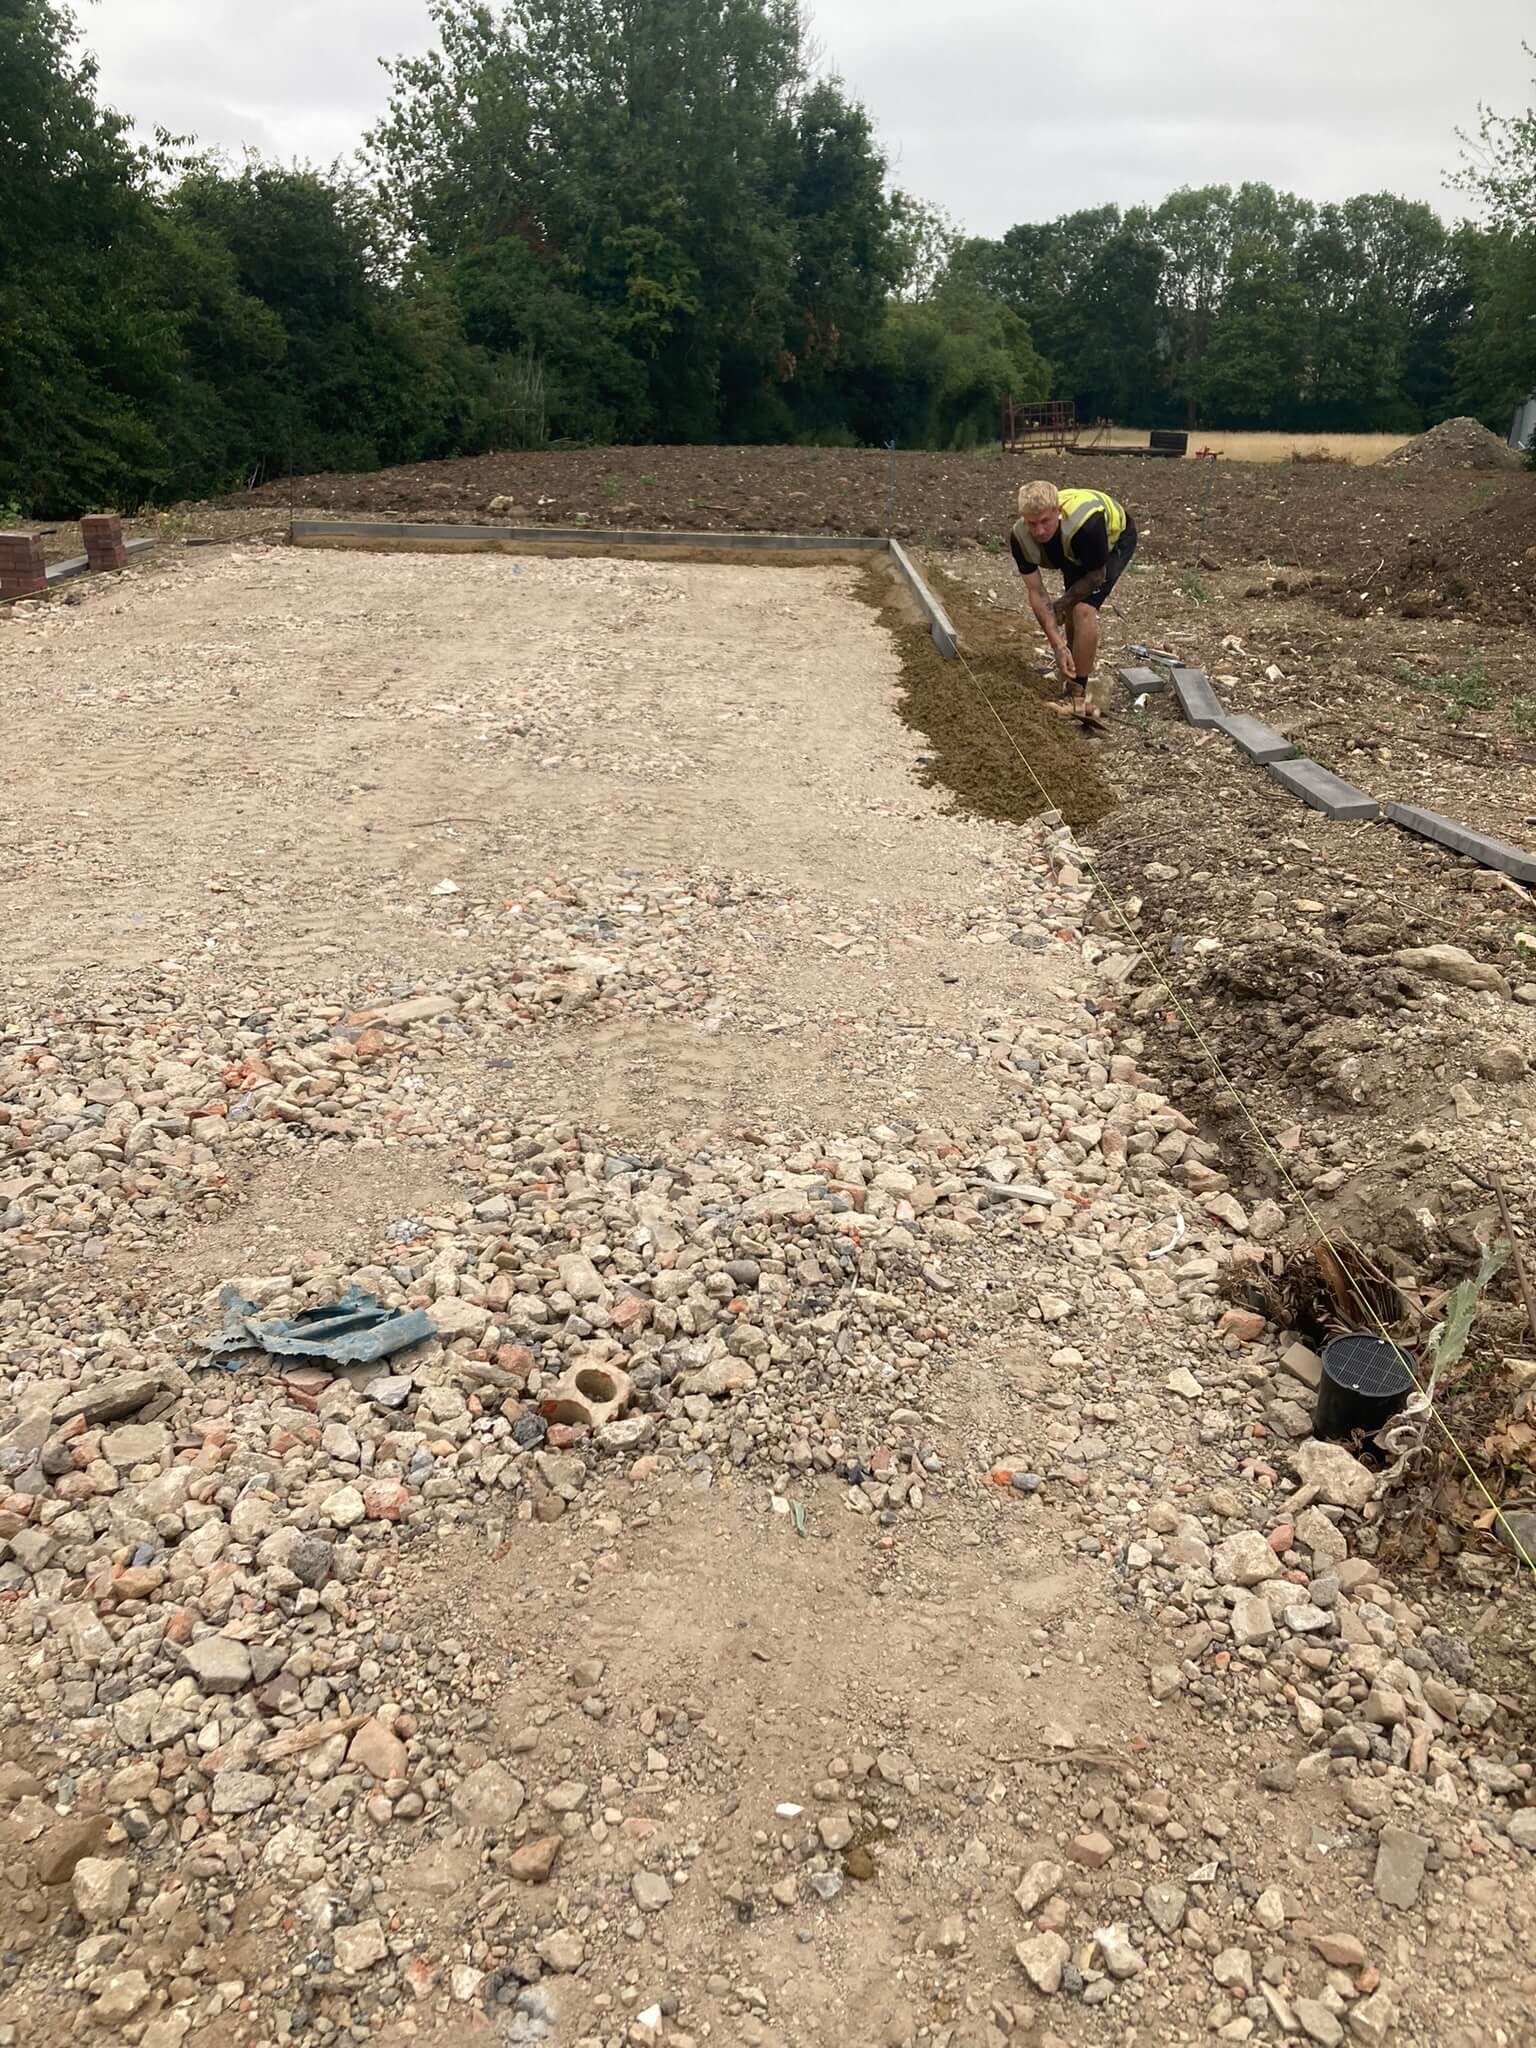
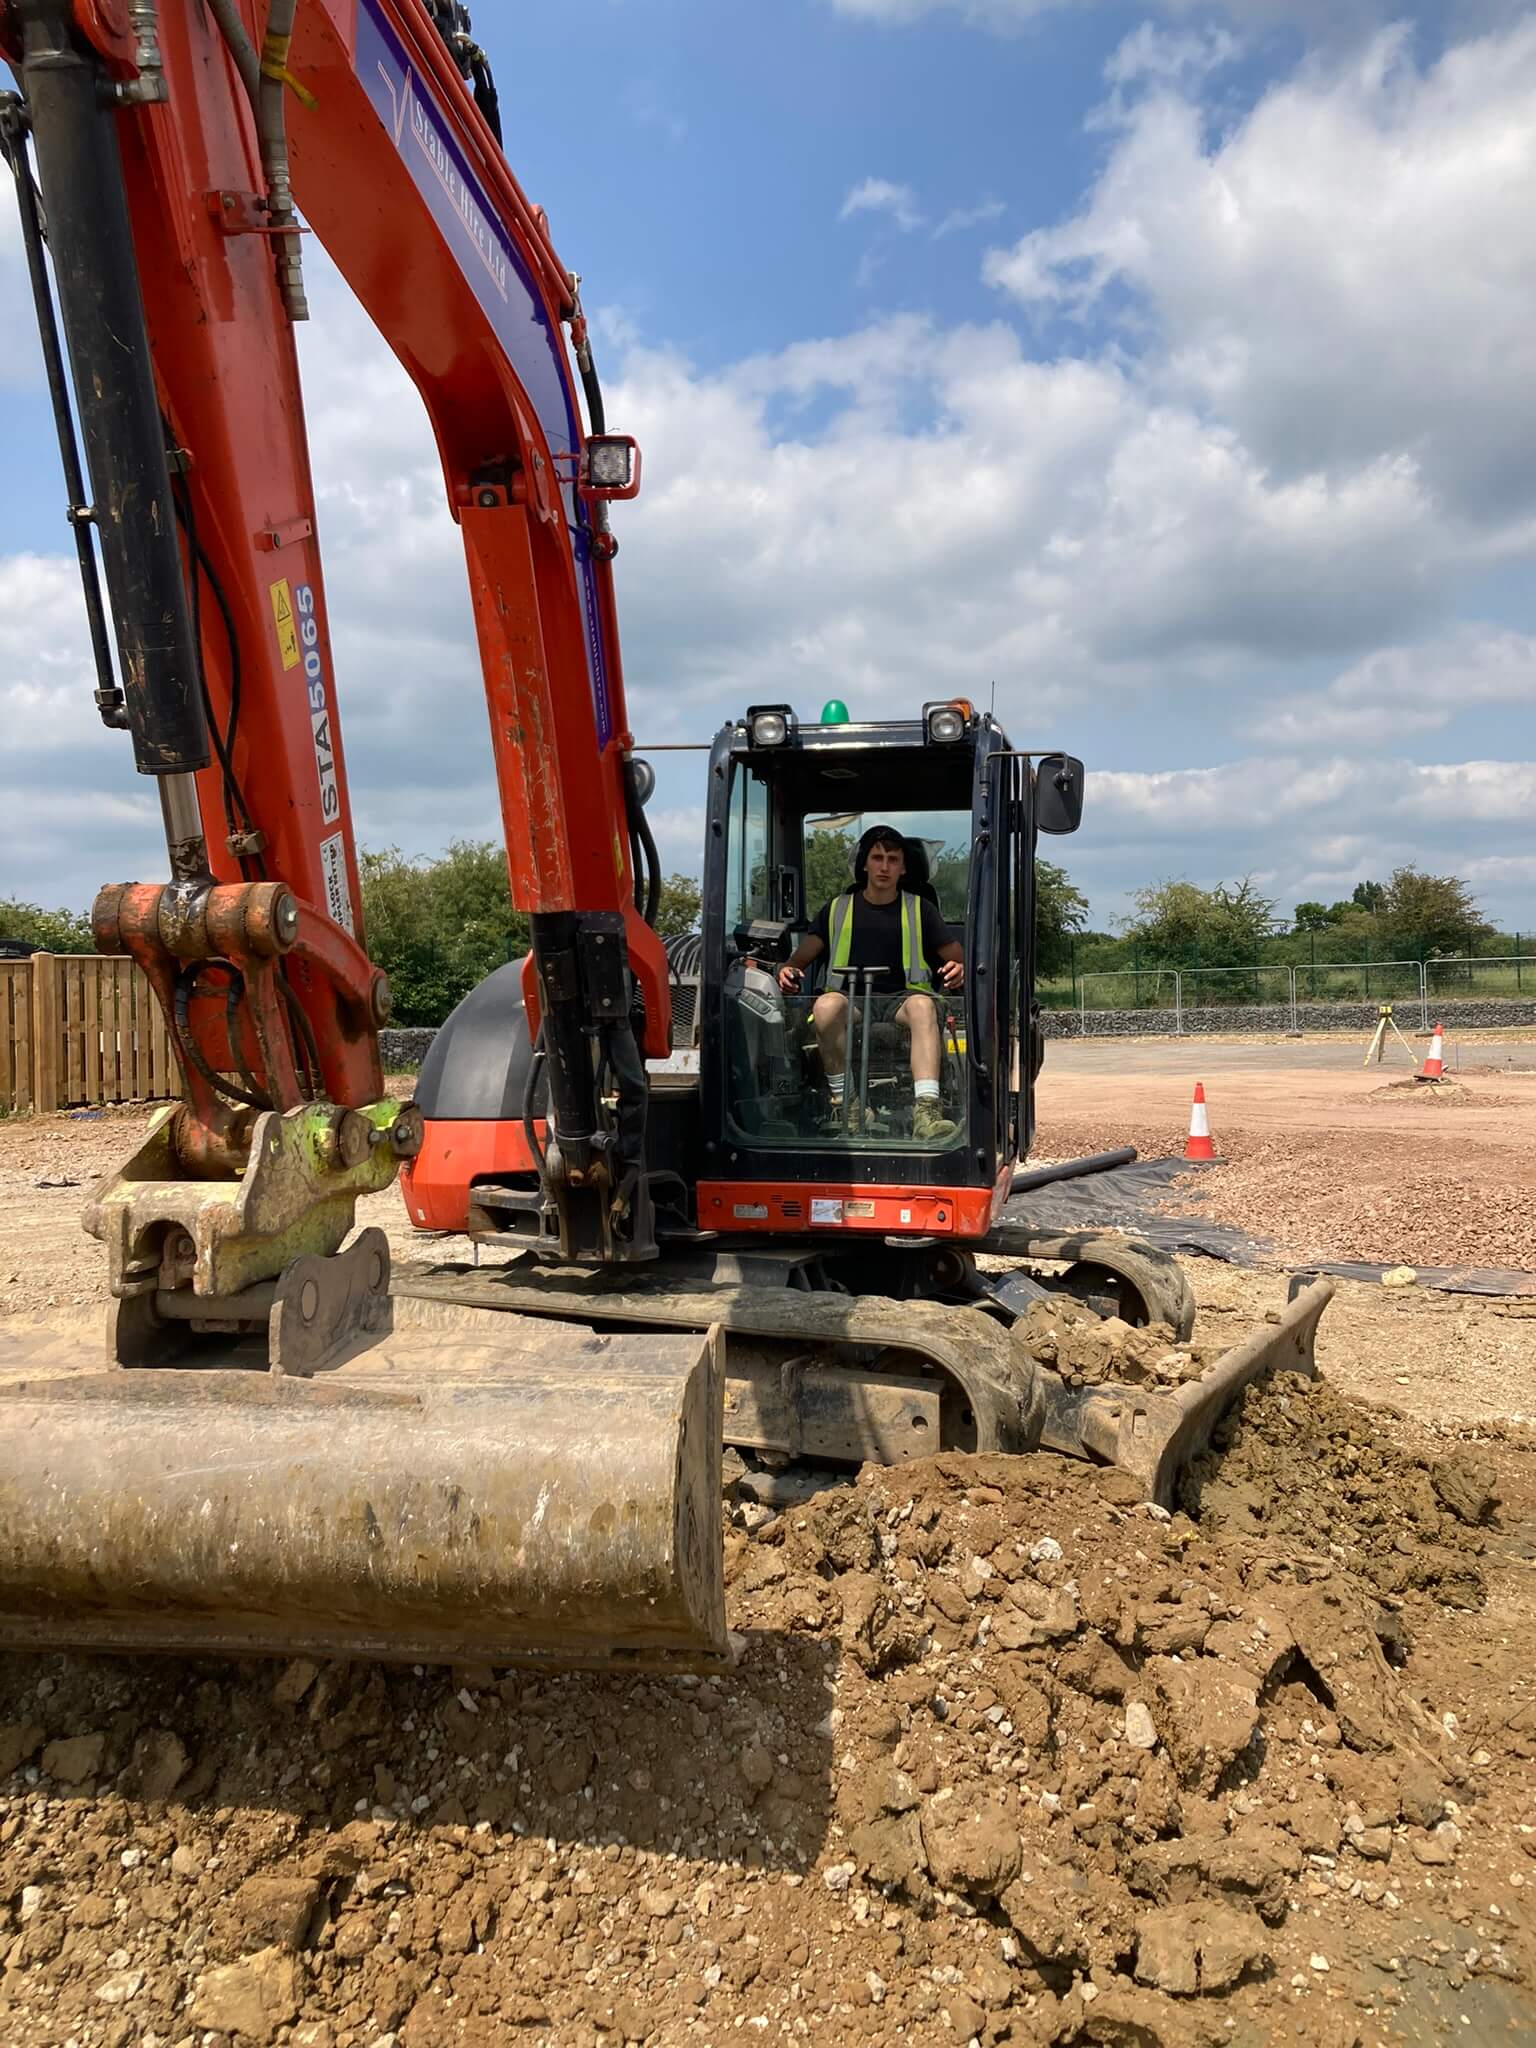
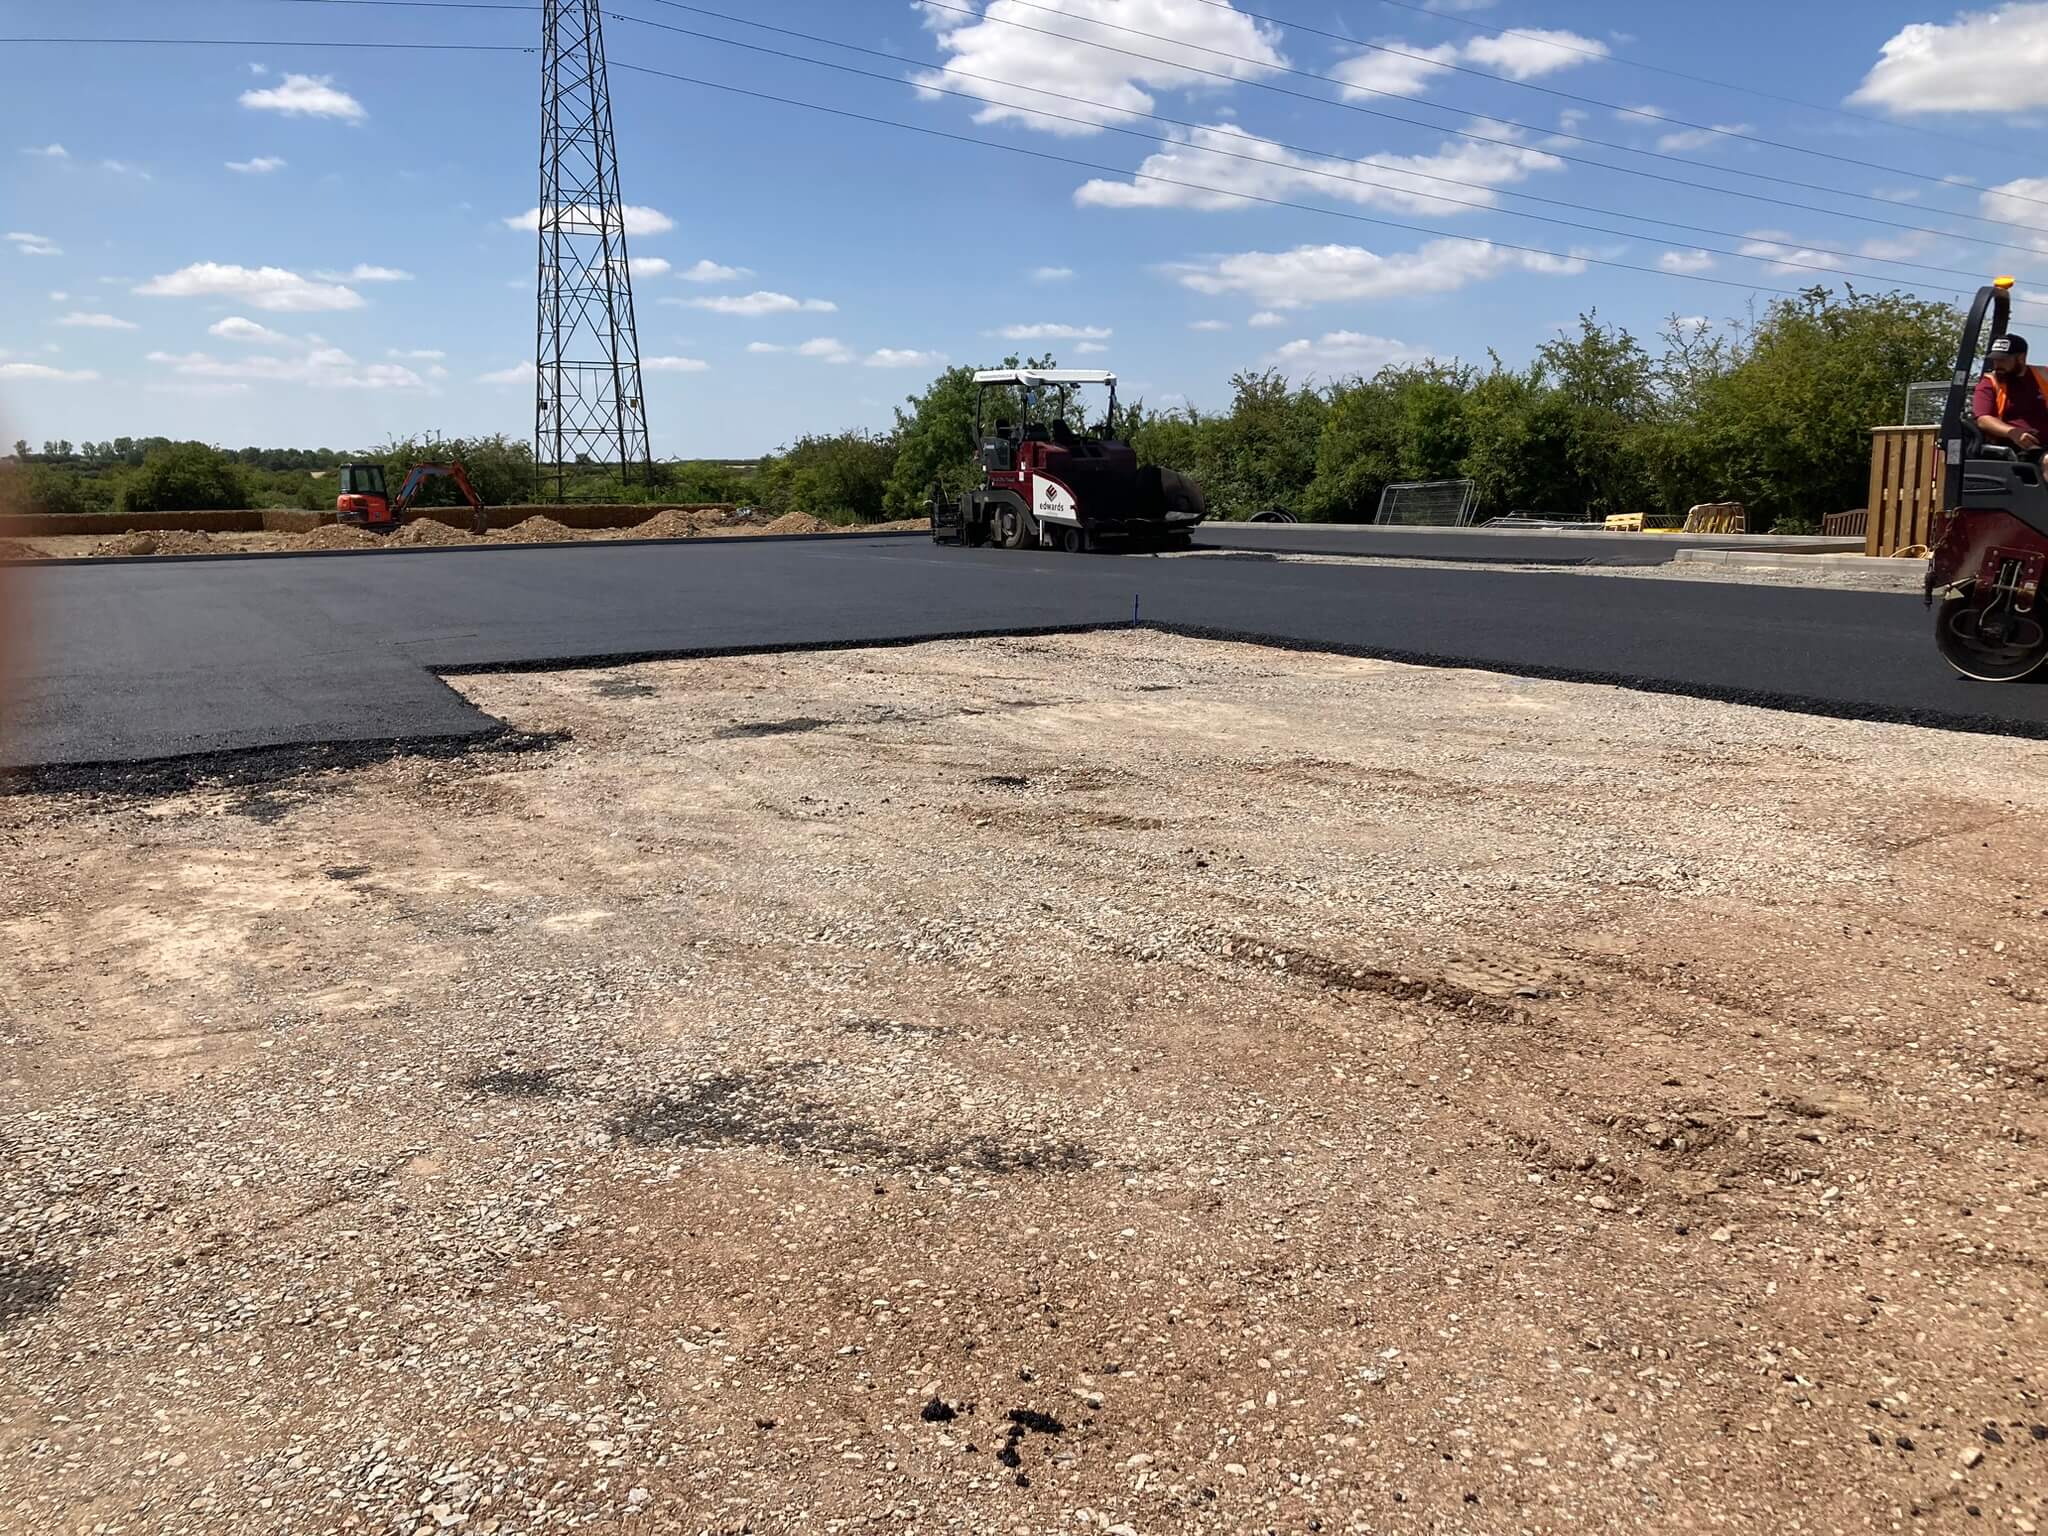
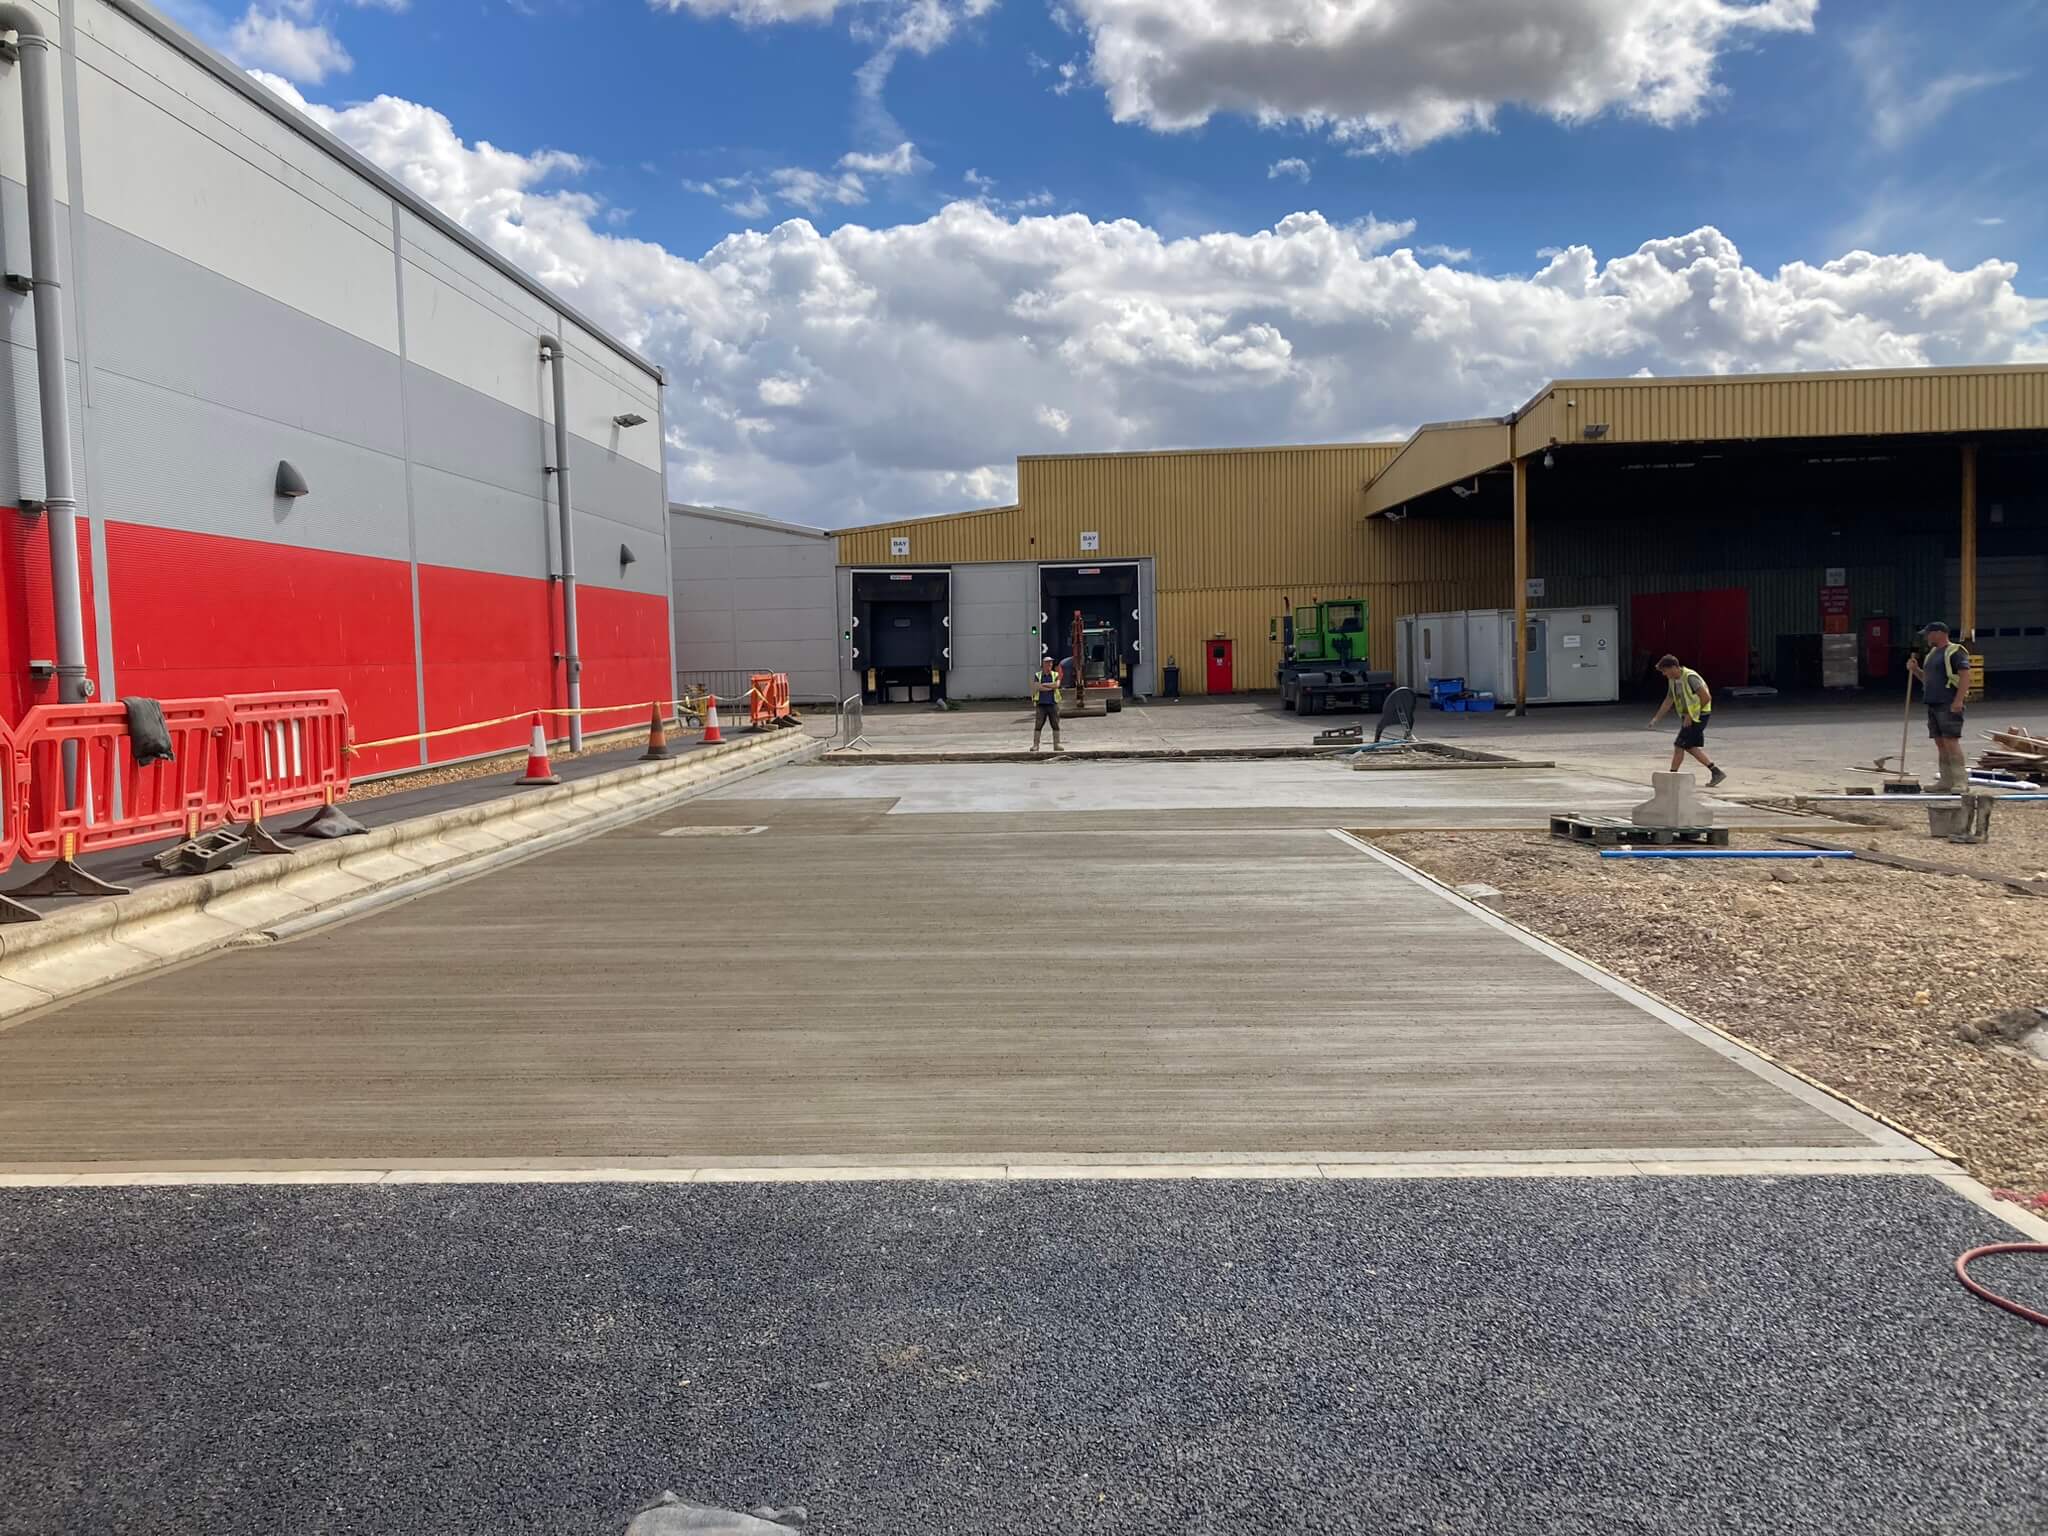
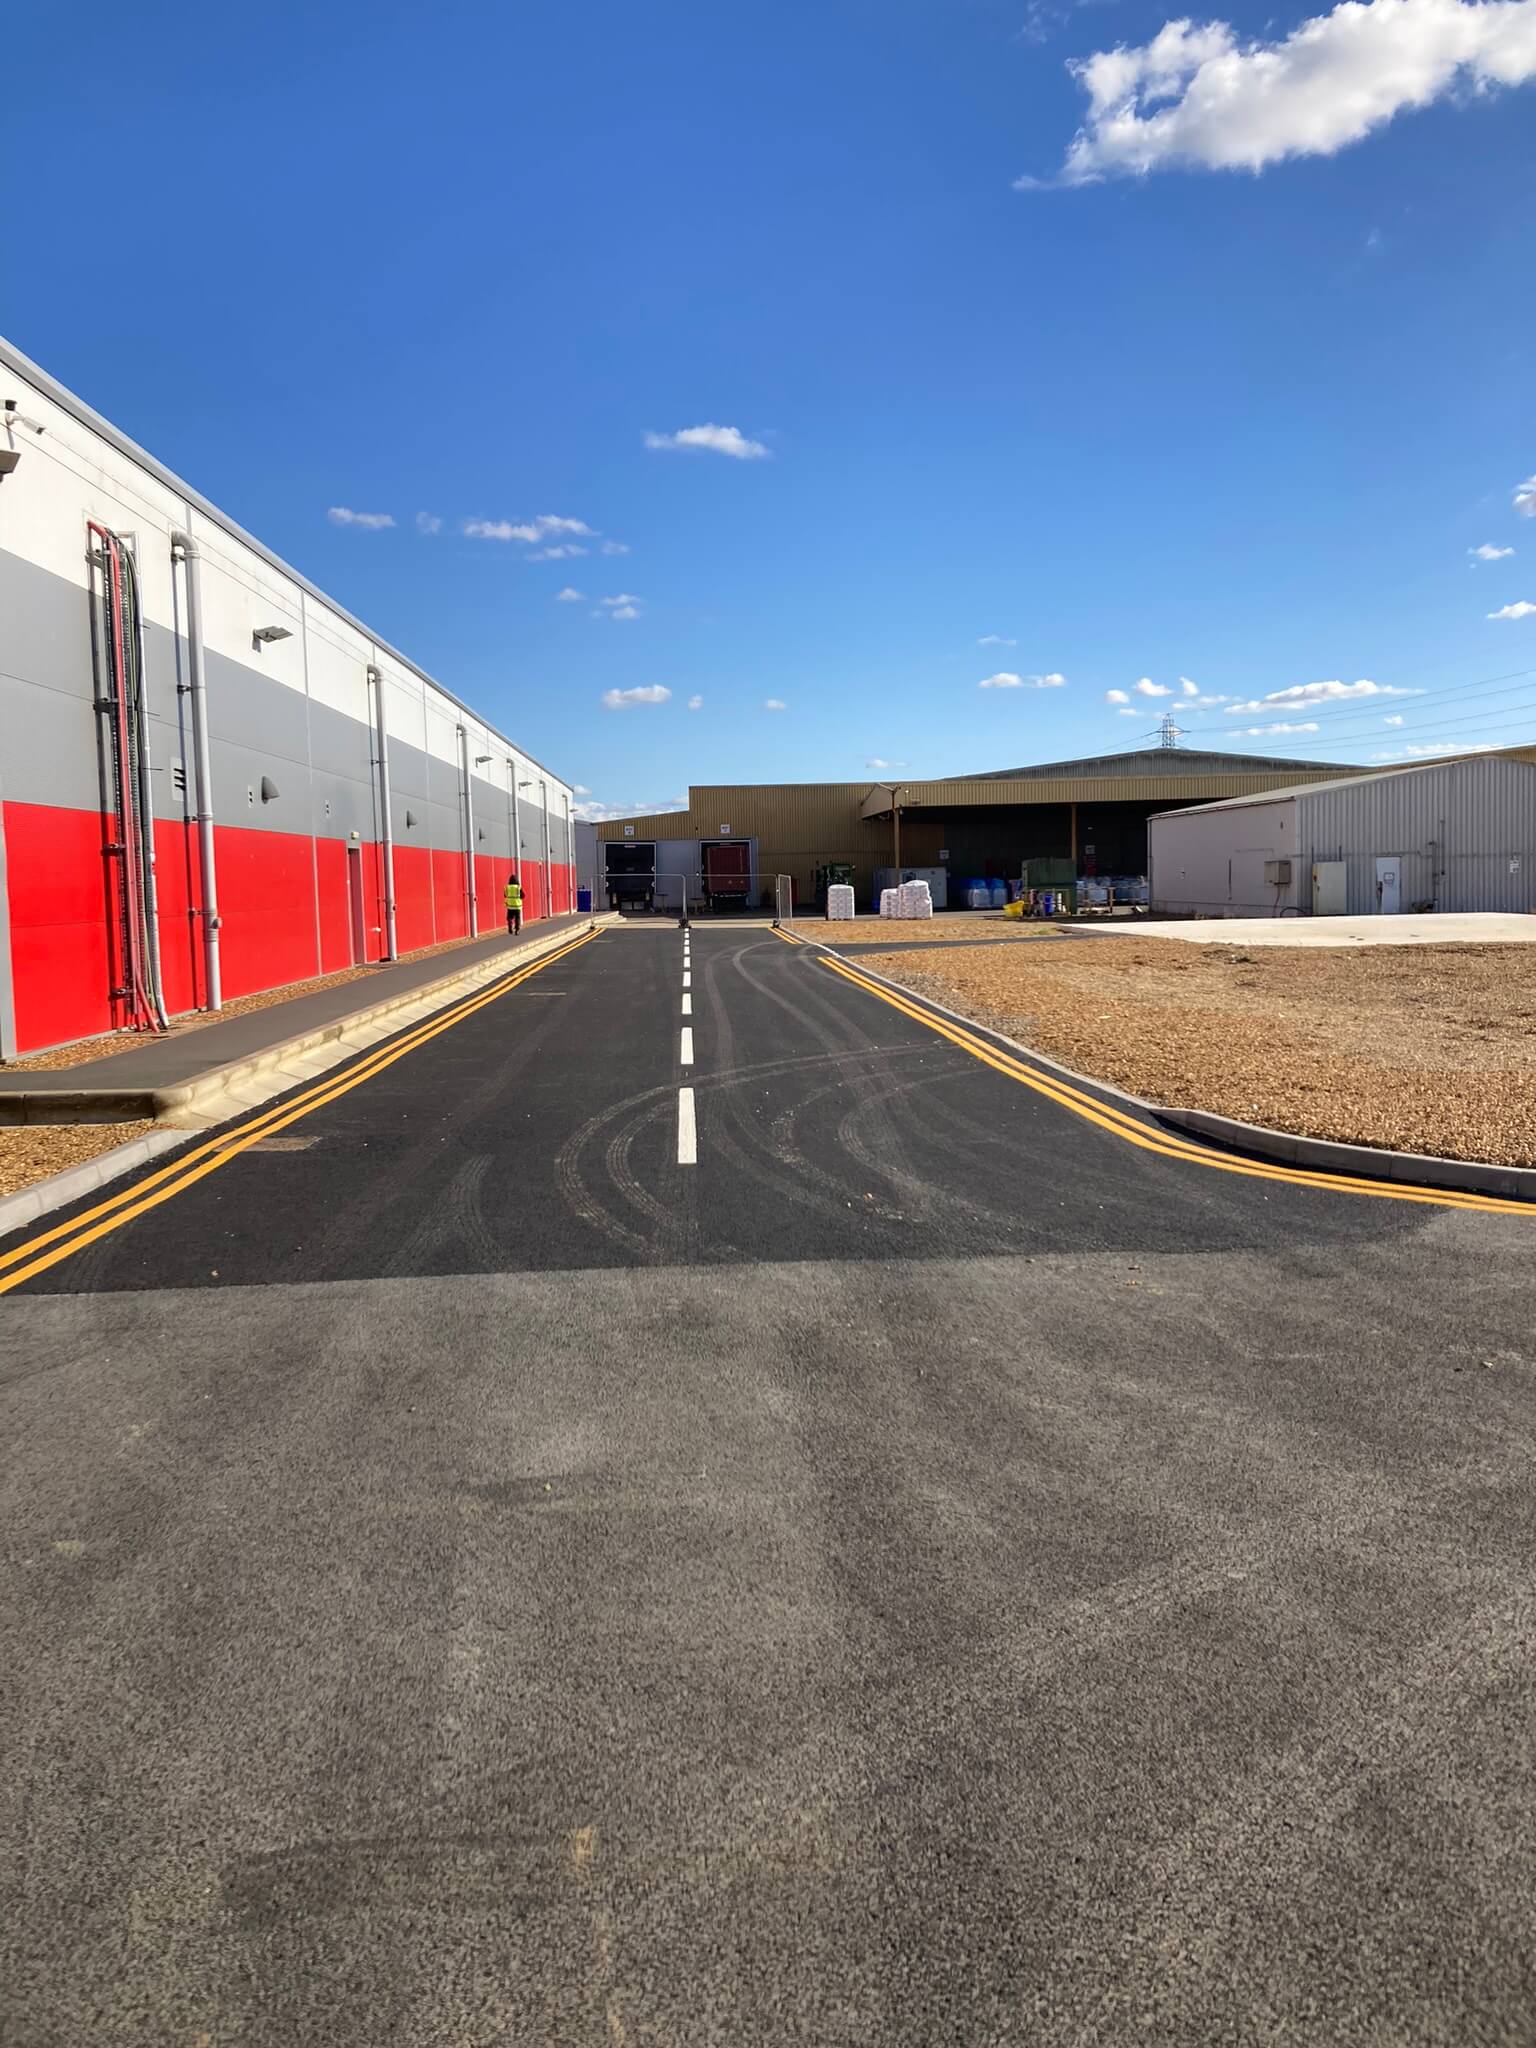
This is by far the most common type of sewer connection undertaken for single dwellings, commercial premises and small developments, often up to a dozen properties or more.
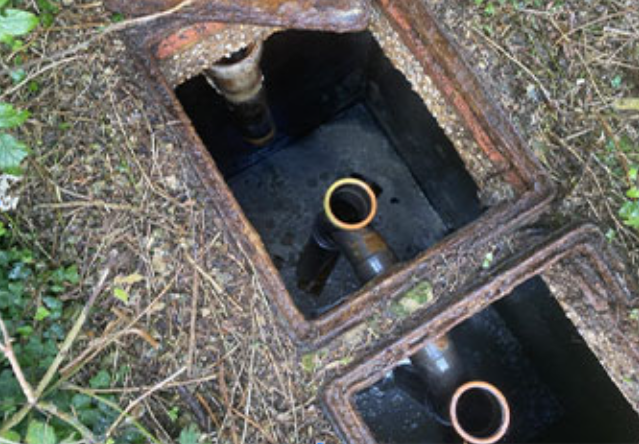
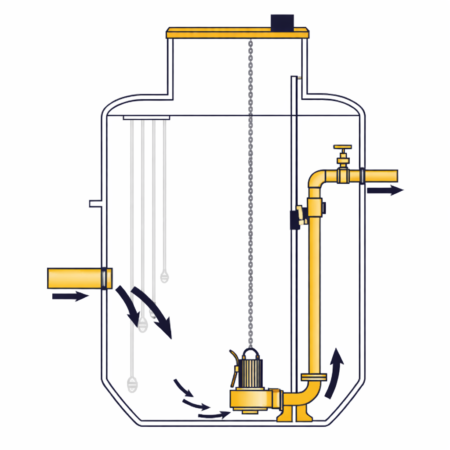
Under a Section 106 approval, the water authority will always adopt the actual connection into their public sewer network. Depending on the circumstances, this may involve:
- Installing a new junction onto an existing sewer
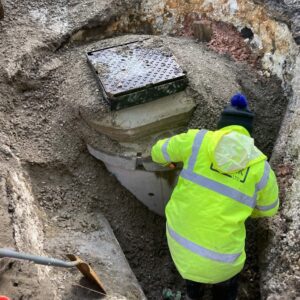
- Constructing a new manhole
- Using a saddle connection
- Connecting directly into an existing manhole
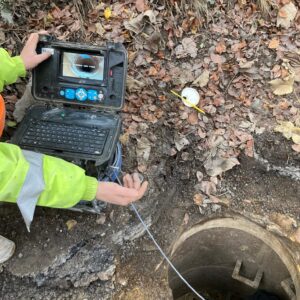
Click here to read about different types of connection method to the public sewer
The important point is that the water authority’s responsibility generally stops at the point of connection.
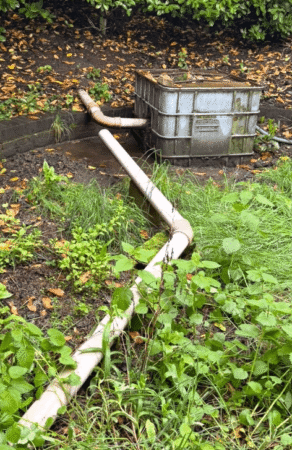
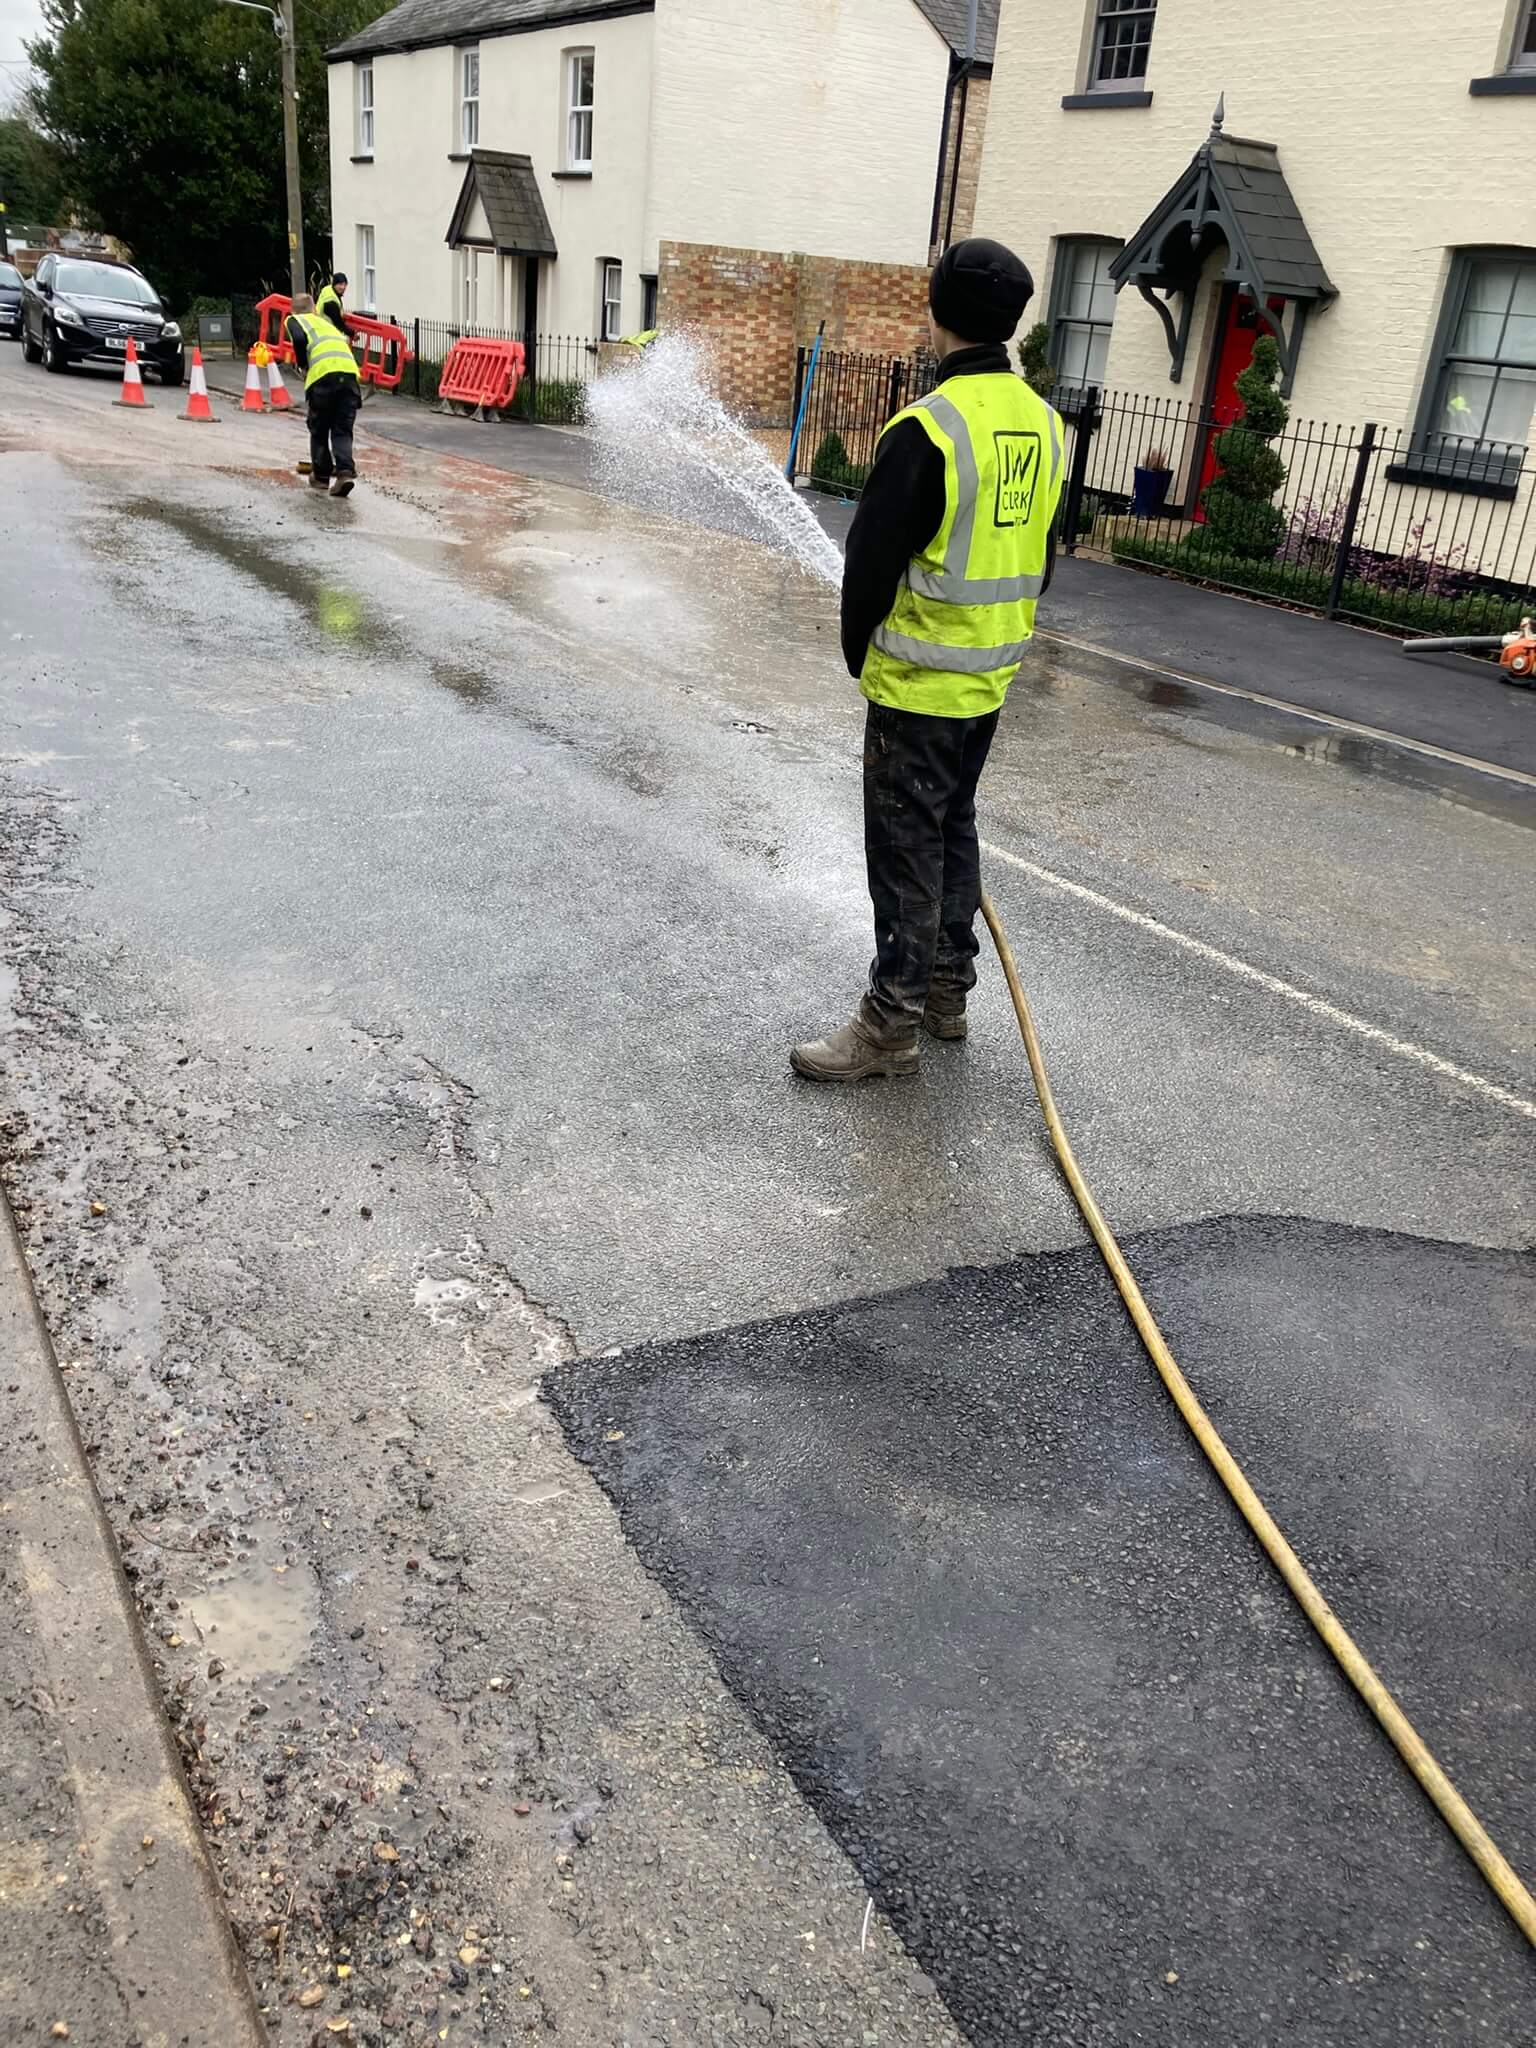
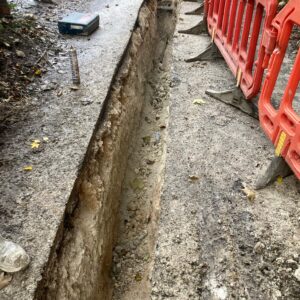
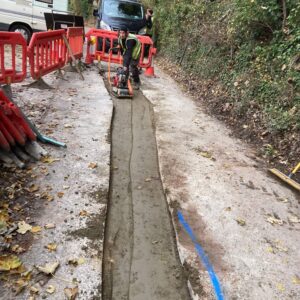
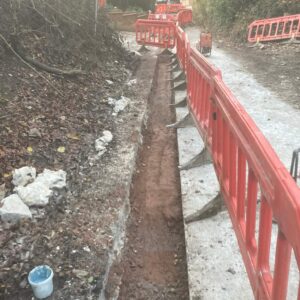
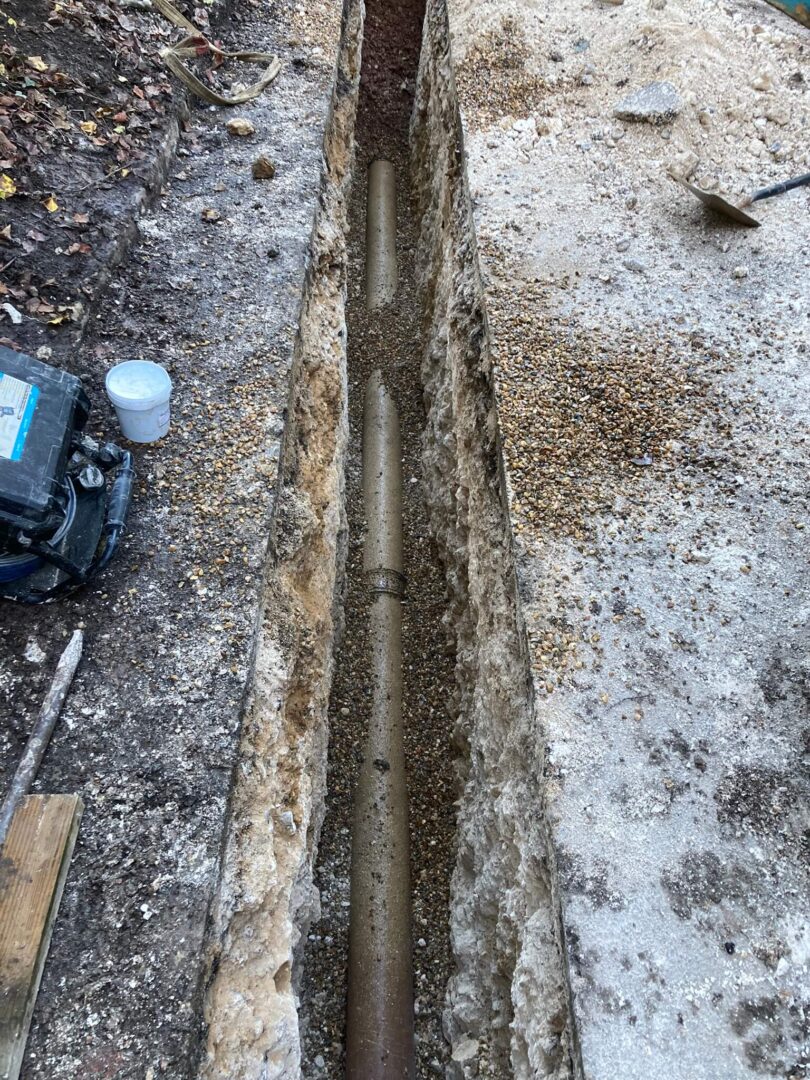
The pipework installed between the new connection and the private property is known as the ‘lateral’ pipework’. Even if this pipework is installed within the public highway, it will often remain privately owned and maintained.
This surprises a lot of people.
Does The Water Authority Ever Adopt The Lateral?
The answer depends largely on which water authority is involved.
Policies vary across the country.
For example:
Anglian Water
Anglian Water will not normally adopt the lateral installed under a Section 106 agreement unless additional arrangements and fees are agreed.
In most cases, the lateral remains private.
Severn Trent Water
Severn Trent will often adopt the first few metres of pipework, up to a maximum of 15 metres from the connection point, although this is subject to their specific requirements being met.
Thames Water
Thames Water will not normally adopt the lateral under a standard Section 106 agreement.
As a result, under a standard Section 106 connection, customers should generally assume that the lateral will remain private unless the water authority has specifically confirmed otherwise.
Why Does Pipework Sometimes Fail Adoption?
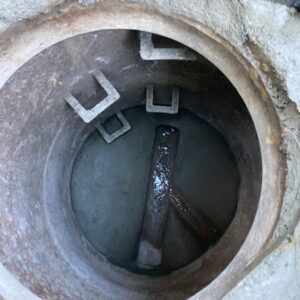
Even where a water authority is prepared in principle to adopt part of a lateral, the pipework must comply with their adoption standards.
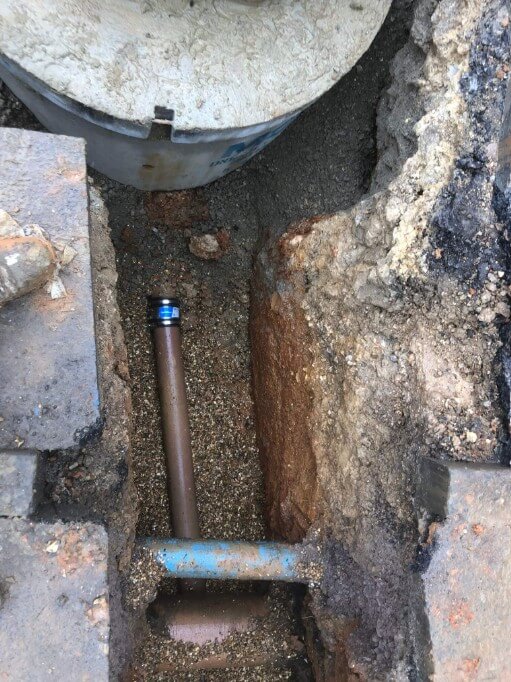
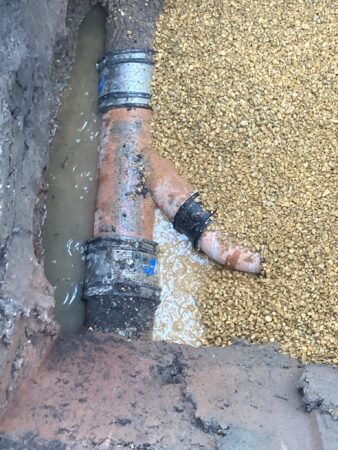
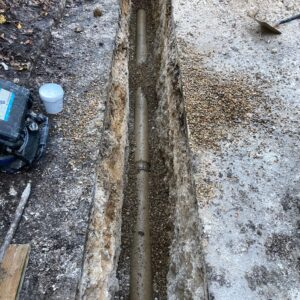
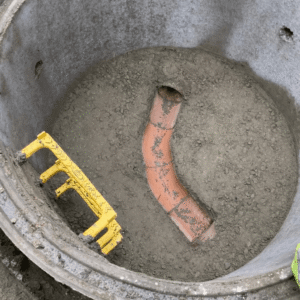
One of the most common reasons for refusal is the presence of bends in the pipework – a simple factor, but an important one.
Water authorities generally prefer adopted sewers to be laid in an exact straight line between chambers and often prohibit bends on their network.
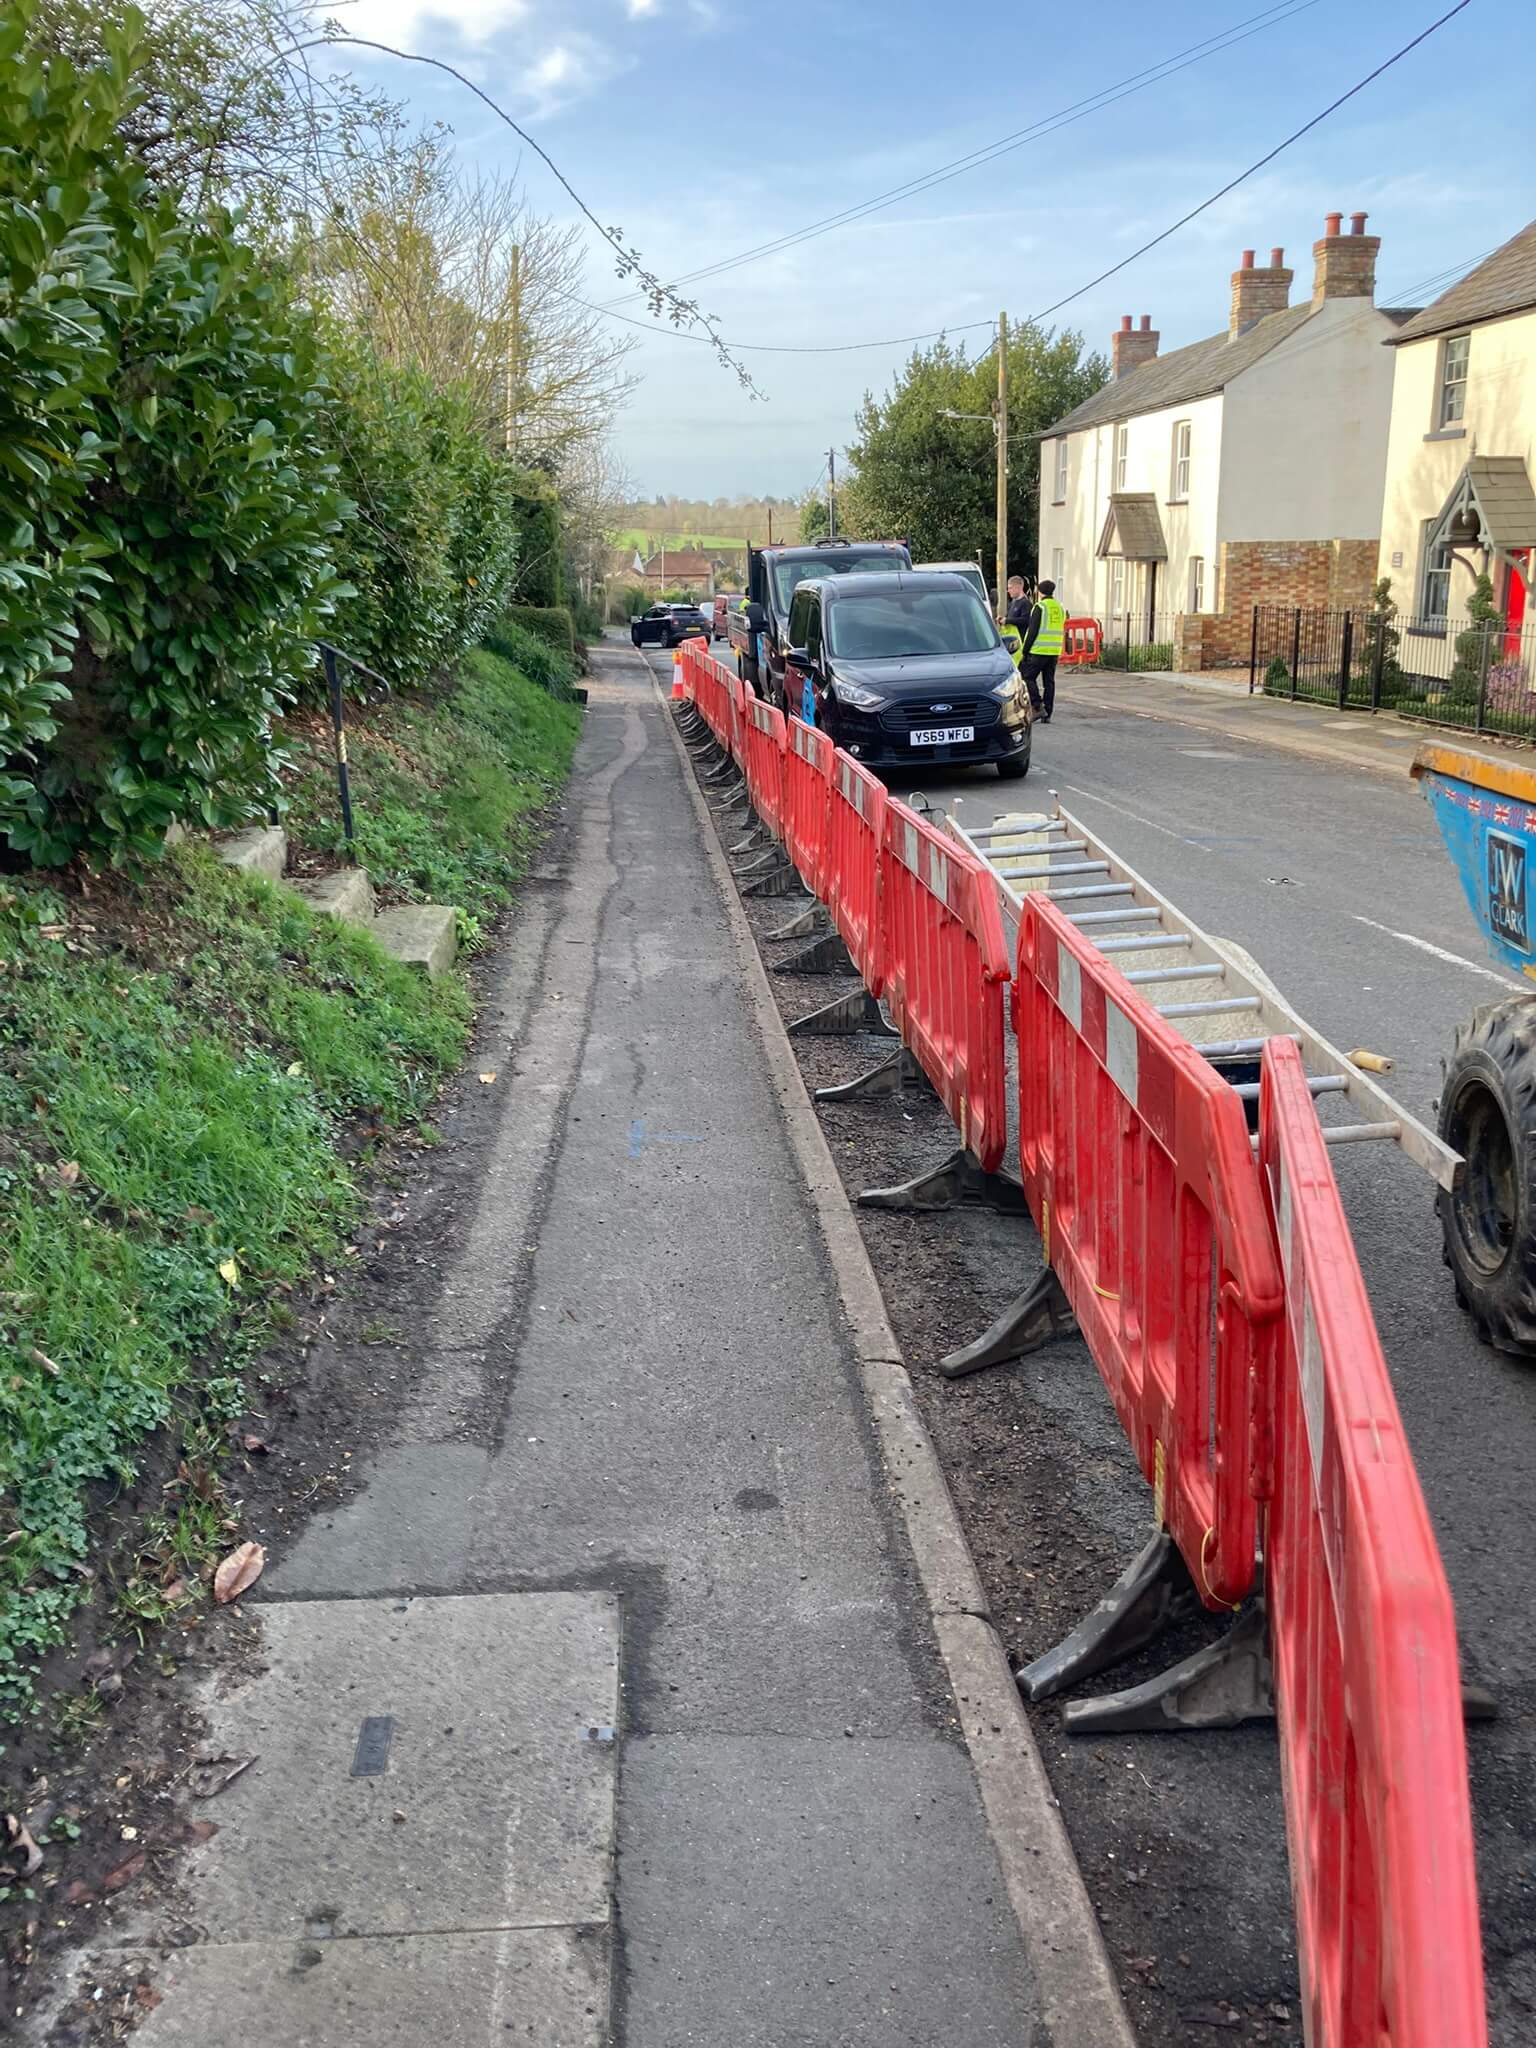
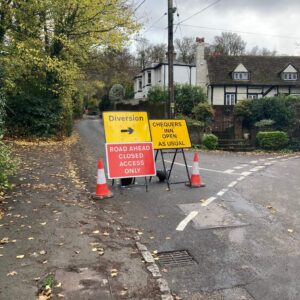
However, when installing pipework within a busy highway, it is common to encounter:
- Existing water mains
- Gas services
- Electricity cables
- Telecommunications infrastructure
- Other drainage systems
To navigate around these obstacles, a ‘bend’ in the pipework will often be required, and normally just a ‘slow’ bend.
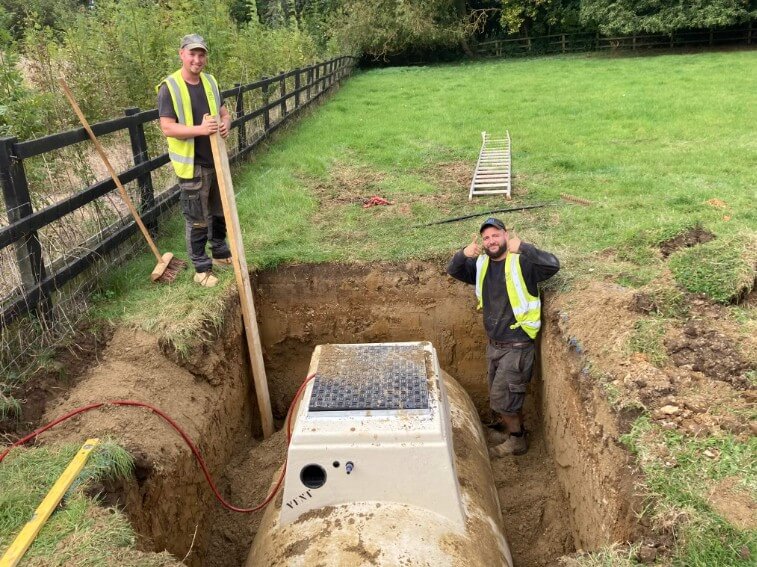
While this may be perfectly acceptable for Building Regulations compliance and long-term performance, it can prevent the water authority from adopting the pipework, as their standard is a lot higher than Building Control and generally accepted industry norms. They tend not to accept bends, preferring a manhole instead for any change of direction, no matter how minor. But all too many times, construction of a manhole isn’t possible, an adoptable manhole in the Highway is a large construction, normally consisting of 1200mm wide manhole rings with a 150mm concrete surround, meaning that a clear 1500mm is required, and in a road or footpath with many existing services, this is often difficult.
For this reason, if adoption is important, it should be discussed at the very start of the design and quotation stage.
What Happens If The Lateral Remains Private?
For most property owners, very little changes in practical day-to-day use.
The drainage system will operate exactly as intended.
However, responsibility for maintenance remains with the property owner.
If a blockage, collapse or defect occurs within the private section of pipework, repairs will generally be the owner’s responsibility rather than the water authority’s.
This is often viewed as a disadvantage, but it is worth considering the wider picture.
A private lateral may only be 5–20 metres long and will normally operate without issue for many decades.
The cost and complexity involved in obtaining adoption can sometimes exceed the long-term risk of future maintenance.
For this reason, many customers choose to proceed with a standard Section 106 connection and retain ownership of the lateral.
What Is A Section 104 Agreement?
A Section 104 Agreement is entirely different.
Rather than simply obtaining permission to connect into a public sewer, a Section 104 agreement is used where new sewer infrastructure is to be constructed and ultimately adopted by the water authority.
The intention is that the pipework becomes part of the public sewer network upon completion.
While this may sound attractive, it introduces a substantial amount of additional administration, cost and programme risk.
Why Are Section 104 Agreements More Complicated?
Many customers underestimate the level of work involved.
A Section 104 process typically requires:
- Detailed drainage design
- Water authority technical approval
- Construction drawings
- Legal agreements
- Inspection regimes
- CCTV surveys
- Adoption inspections
- Completion certification
The sewer must usually be built to a significantly higher specification than would ordinarily be required for Building Regulations approval alone.
Requirements can include:
- Specific pipe materials
- Additional manholes
- Greater access provisions
- Enhanced testing procedures
- Strict alignment tolerances
- Water authority inspection hold points
The process is often driven by engineers and technical departments rather than practical site requirements.
The Additional Costs Of A Section 104
The financial implications are often overlooked during project budgeting.
Additional costs may include:
- Consulting engineer fees
- Architectural amendments
- Drainage design fees
- Water authority technical review charges
- CCTV surveys
- Solicitor costs
- Bond arrangements
- Surety provider fees
- Additional inspection charges
In many cases, the cost of obtaining adoption can exceed the perceived value of having the pipework adopted.
How Long Does A Section 104 application take?
This is another area where expectations and reality often differ.
A Section 106 sewer connection can often be progressed relatively quickly, usually within a few weeks.
A Section 104 adoption process will usually take many months, from start to finish
In some cases, particularly where technical queries, redesigns or legal matters arise, the process can take closer to a year before all approvals are finalised.
For developers working to tight build programmes, this can become a significant issue.
Can JW Clark Apply For A Section 104?
No.
JW Clark can facilitate and manage Section 106 sewer connection applications on behalf of our customers as part of our normal service.
However, a Section 104 agreement must be entered into directly by the developer or landowner.
The legal and financial obligations sit with the customer rather than the contractor.
As a result, we cannot act as the applicant for a Section 104 agreement.
Customers considering a Section 104 should engage directly with the relevant water authority and their professional advisers at an early stage.
Are There Any Areas Where Adoption Is Mandatory?
Yes.
While most highway authorities are comfortable with privately maintained laterals beneath the highway, there are exceptions.
Certain authorities, particularly in Hertfordshire and in Luton, require pipework within the highway to be adopted and always insist on a Section 104 process before granting approval.
These cases are relatively uncommon nationally but can have a major impact on project costs and programme.
For this reason, it is always important to establish local requirements at the outset. We can assist with this, contact us here.
Our View
For the majority of single dwellings and smaller developments, a standard Section 106 sewer connection is usually the most practical solution.
It is generally quicker, simpler and considerably less expensive than pursuing a Section 104 adoption agreement.
Provided the customer understands that the lateral may remain private and accepts future maintenance responsibility, a Section 106 route is often the most sensible option.
Where adoption is genuinely required, it should be considered from the earliest design stages, as retrofitting adoption requirements later in the project can be difficult, costly and time-consuming.
Every site is different, and adoption policies vary between water authorities. If you are planning a new sewer connection and are unsure which route is appropriate, early advice can often prevent significant delays and unexpected costs later in the project.
Do you need a sewer connection doing? Get in touch. If you want any more advice on Section 106 and Section 104 applications, please don’t hesitate to ask.
Click here to read more JW Clark factsheets
Click here to read our most-read factsheet ‘How long does a sewer connection take”